Installing Sophos UTM 9 Firewall In Home Network
If you value the security and online well-being of your home network or the safety of your children, you may be contemplating the installation of a security or monitoring application.
In today’s digital landscape, with an overwhelming array of security options to choose from, finding the right one can be a daunting task. However, if you are truly passionate about online security and yearn for a deeper understanding of your home network’s activities, you might consider embarking on the journey of creating your own home intrusion prevention system (IDS). By building your own IDS, you have the freedom to customize the system according to your specific needs, all while staying within a budget and using the appropriate equipment.
In this article, we will guide you through the process of crafting your own centralized home IDS, empowering you to strengthen and diligently monitor your network’s security.
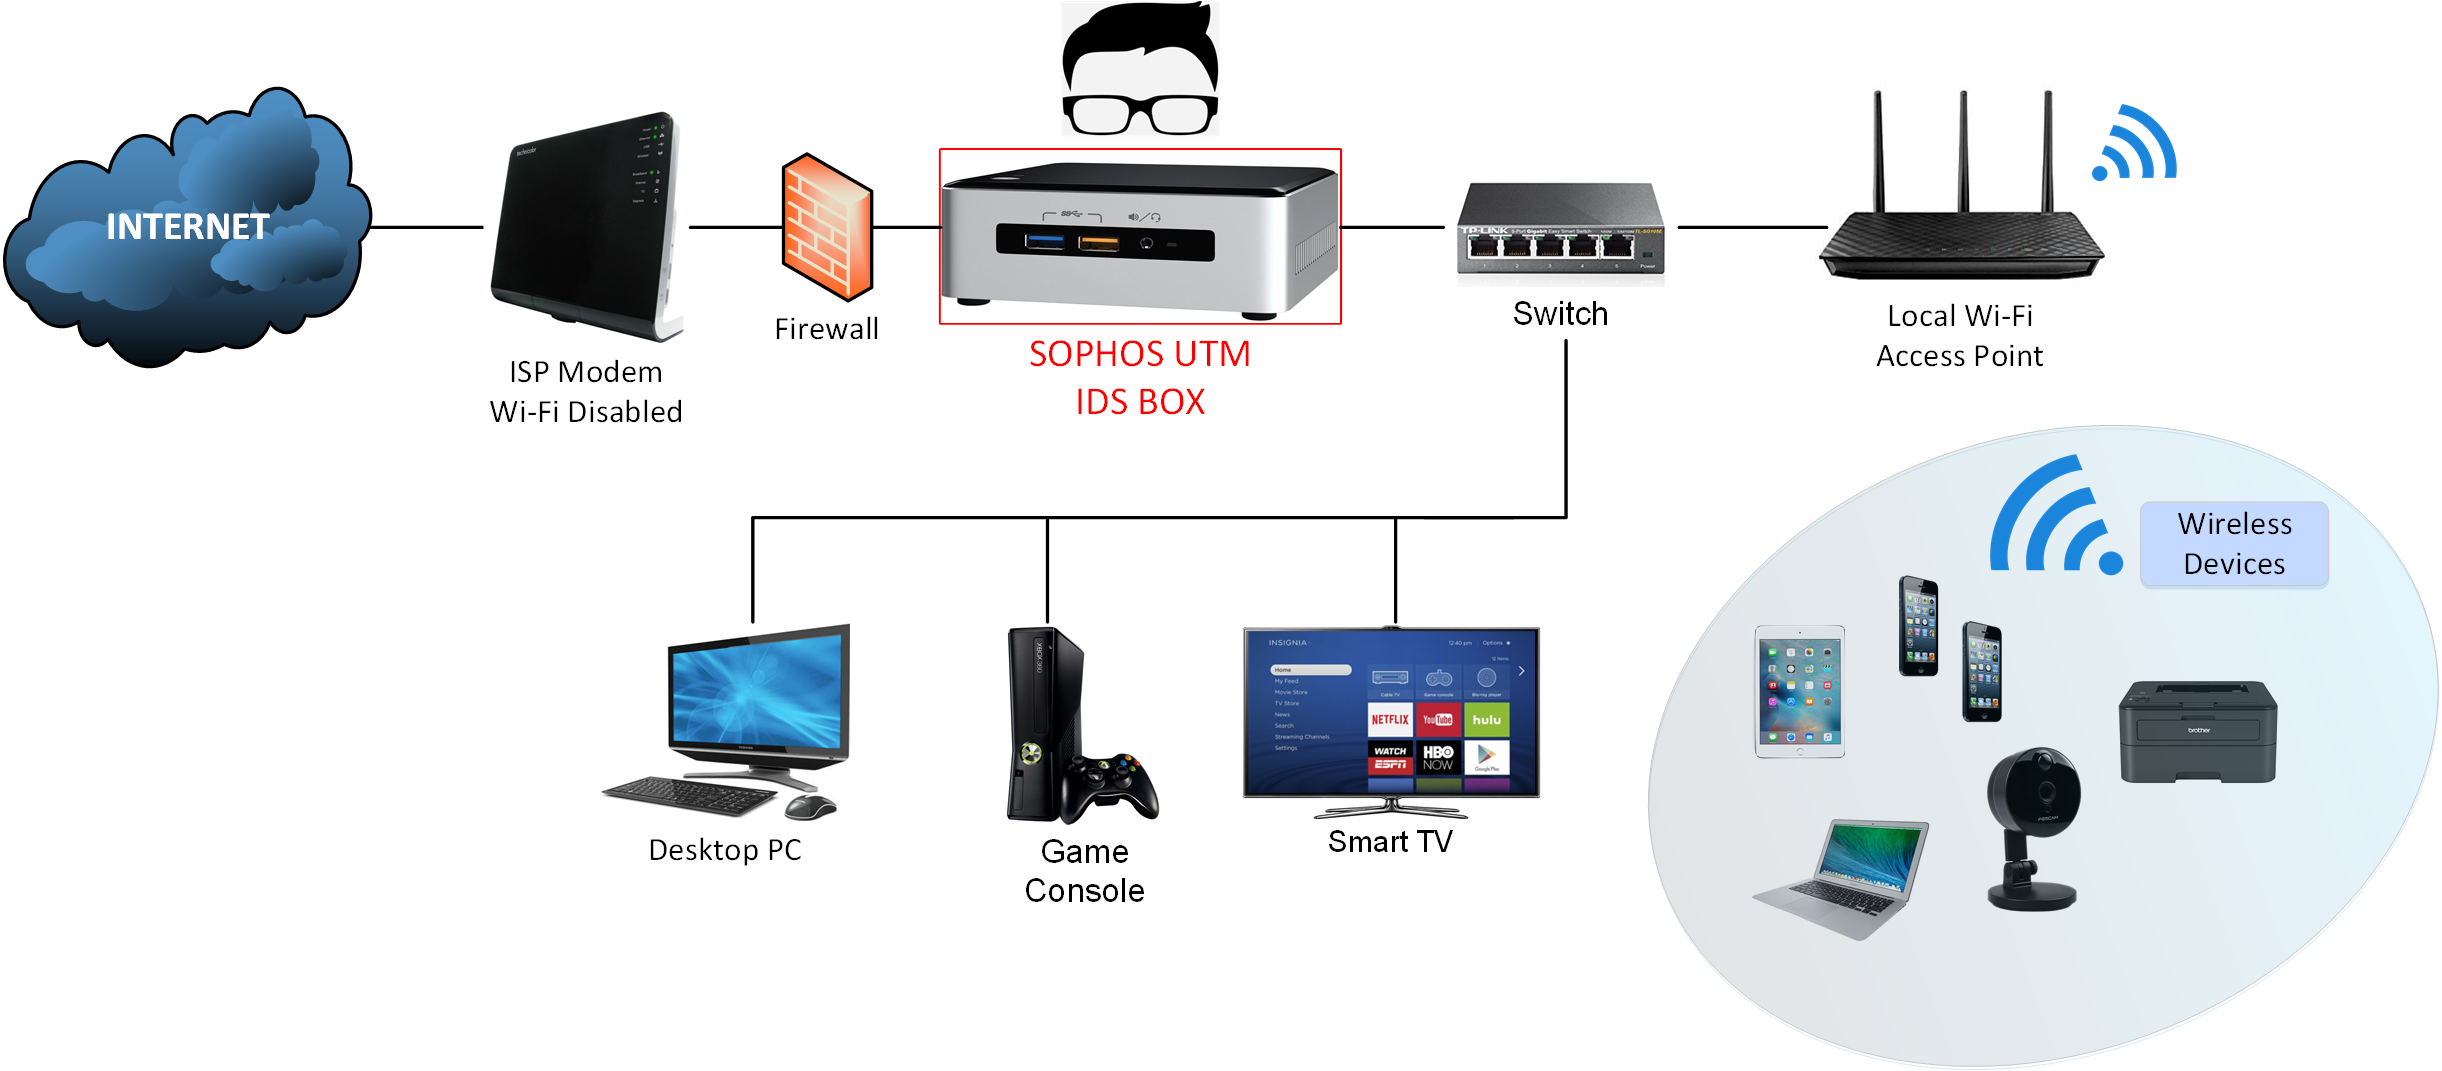
In our previous post titled Securing Home Network with SOPHOS UTM IDS we explored the introduction of SOPHOS UTM 9 and discussed the benefits of implementing such a system within our home network. Expanding on that discussion, this post will shift our focus to the installation of the IDS Box, as depicted in the diagram above within the distinctive red square.
Here are some hardware examples you can use to build your own home network Intrusion Detection System.
| Intel NUC6CAYH, Celeron J3455 | € 129 |
| RAM: Crucial 4GB PC3L-12800 | € 39 |
| SanDisk SSD Plus, 120GB, 2,5″, SATA3 | € 60 |
| TP-Link USB 3.0 to Gigabit Ethernet Adapter | € 19 |
| TOTAL: | €247 |
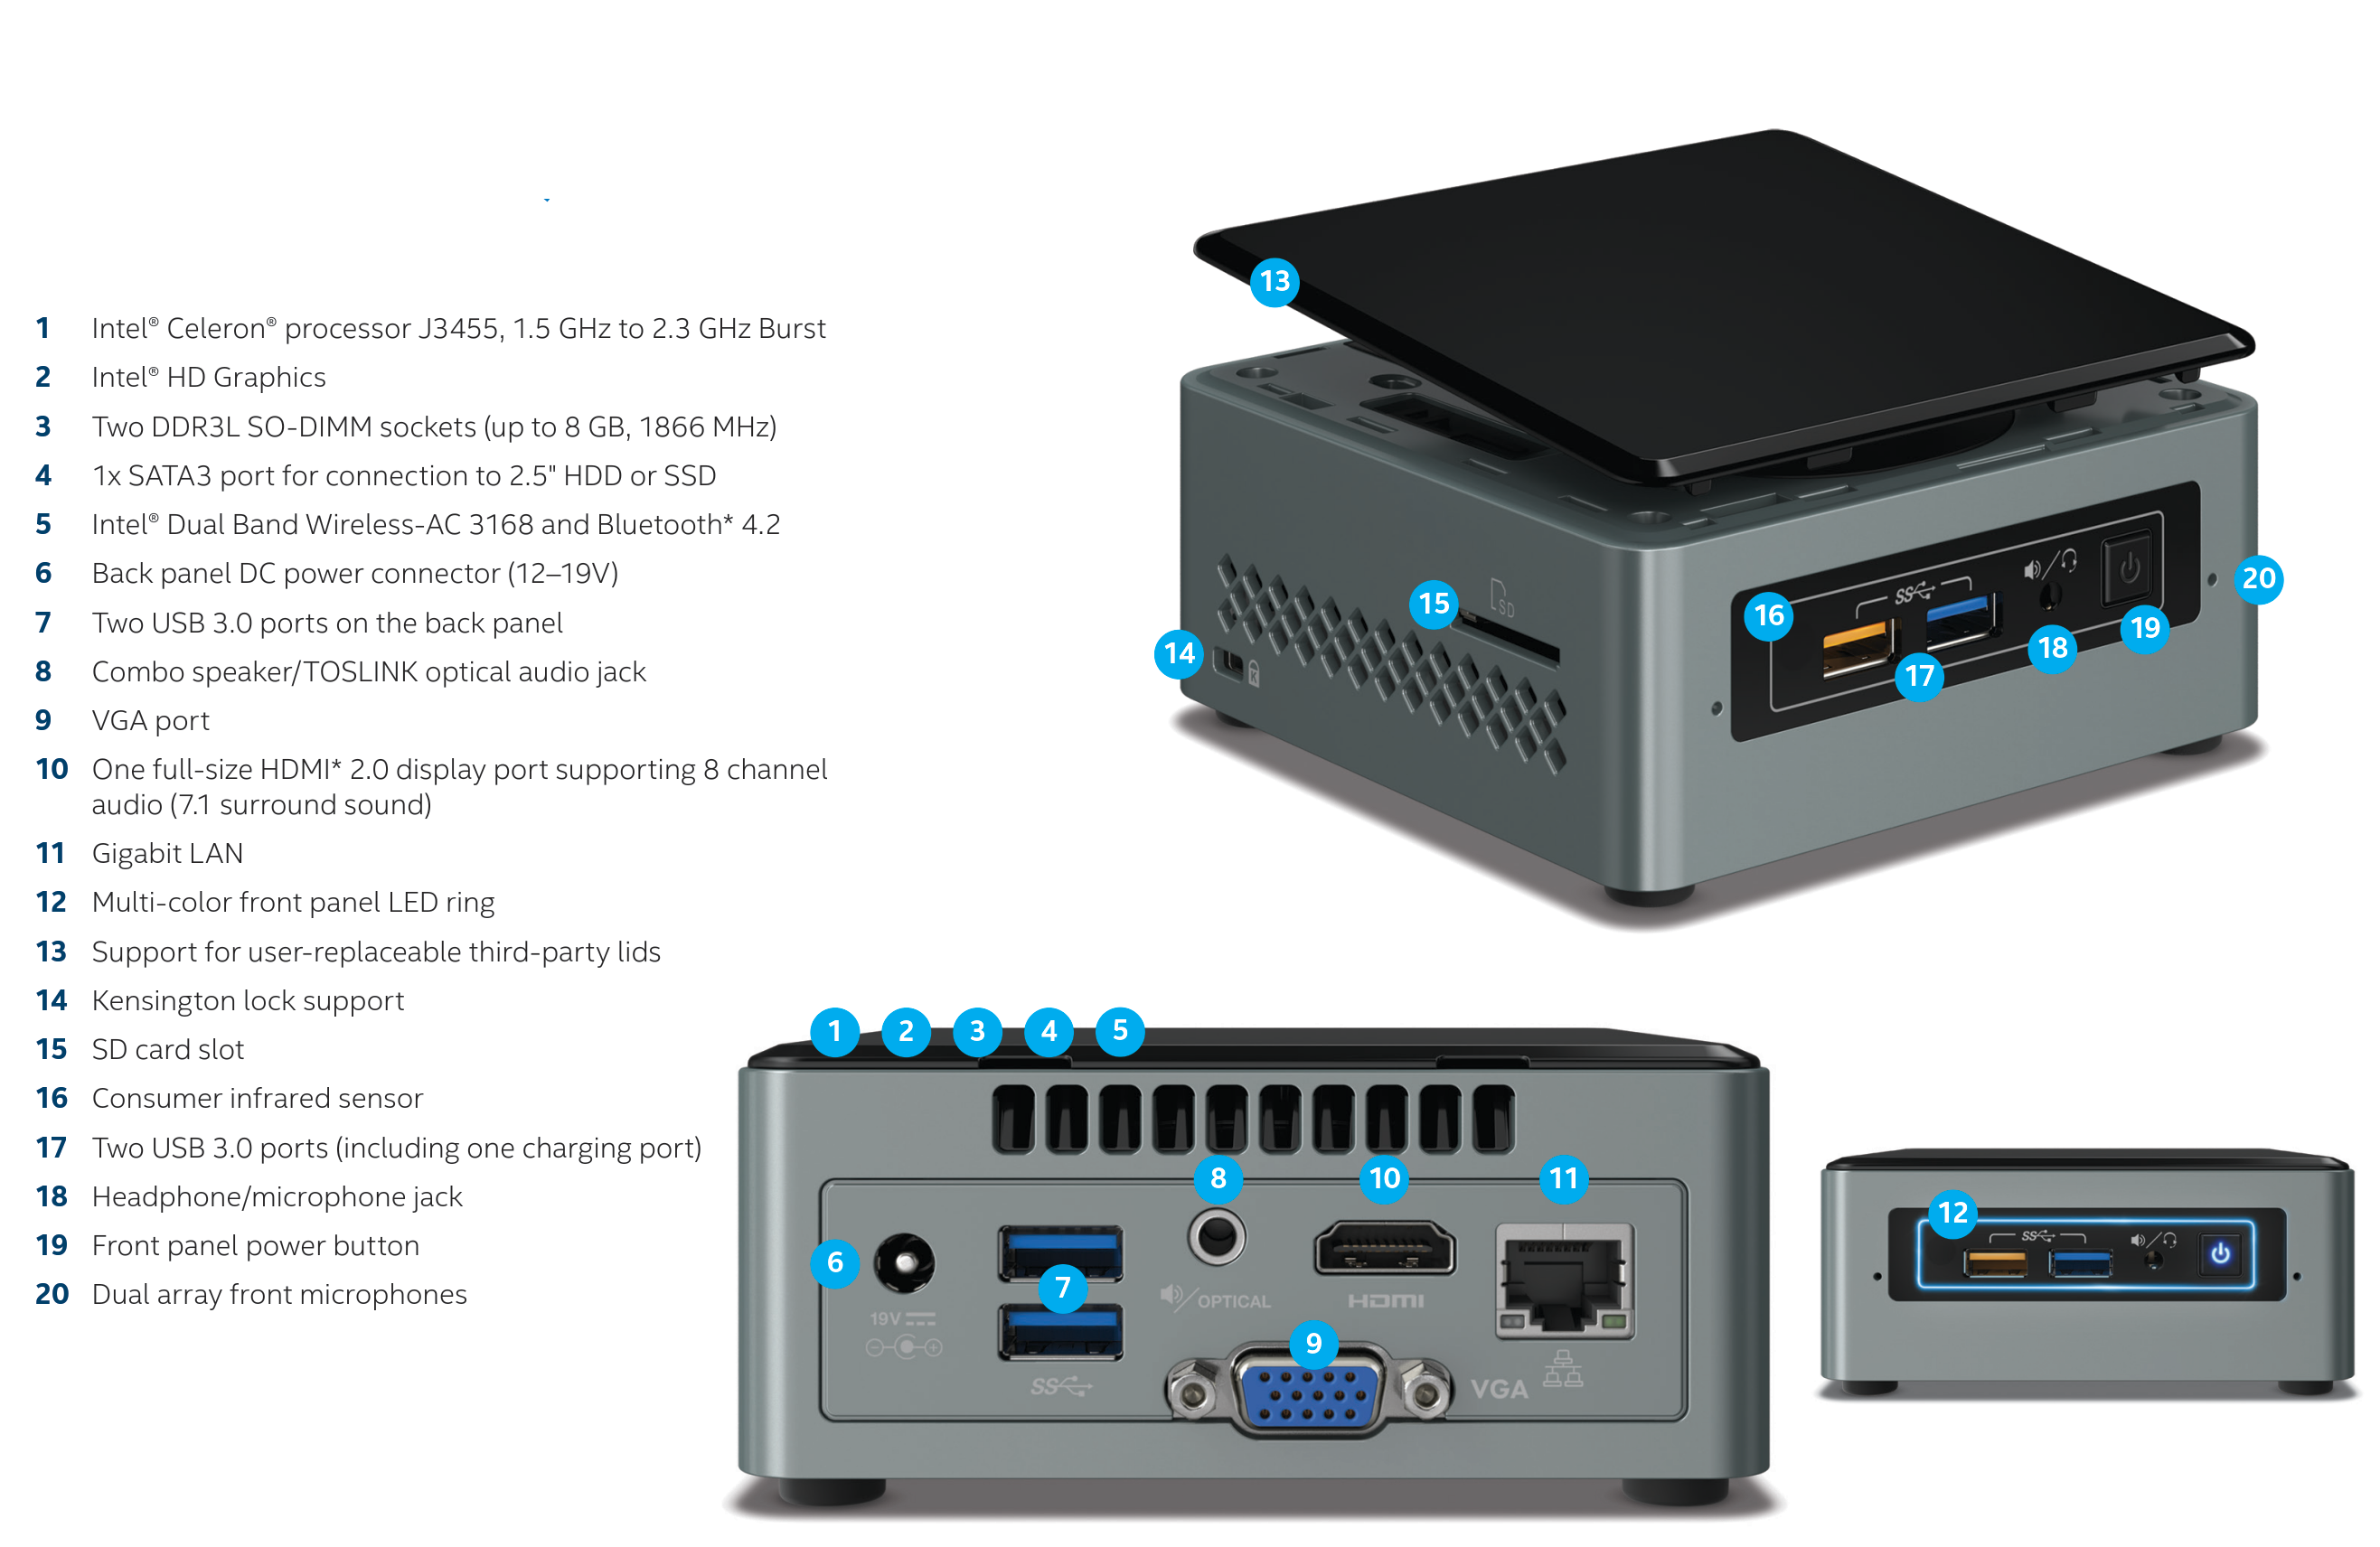
For our project, we are using the Intel NUC6CAYH mini PC, which features a quad-core Intel Celeron processor. It is an energy-efficient and quiet device. Although it comes with only one network interface card (NIC), we found a cost-saving solution by connecting a USB 3.0 gigabit Ethernet adapter as a secondary NIC. This setup meets the requirements of our IDS system, which necessitates two network interfaces – one for the external network (WAN) and one for the internal network (LAN).
With 4GB of RAM and a 120GB solid-state hard drive, we ensure decent performance and sufficient storage for longer log retention. This configuration allows our system to operate smoothly and maintain uptime.
The total cost for this hardware setup is approximately €250 (2017), but keep in mind that this is just one example. The IDS system can also be installed on any spare desktop PC or even within a virtual machine.
The minimum hardware recommendations for Sophos UTM 9 are as follows:
- CPU: 1.5+ GHz (I recommend Intel Core if you have > 250Mbit/sec bandwidth at home)
- RAM: 1GB (I recommend 4GB )
- HDD: 60GB+
Connecting hardware and Installing Sophos UTM software.
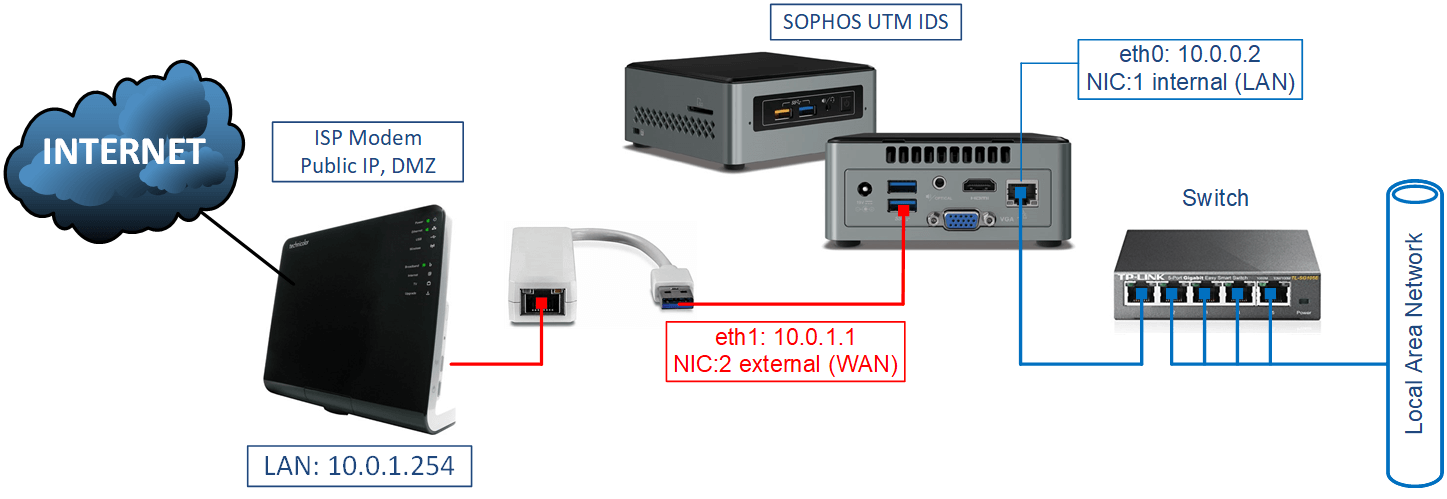
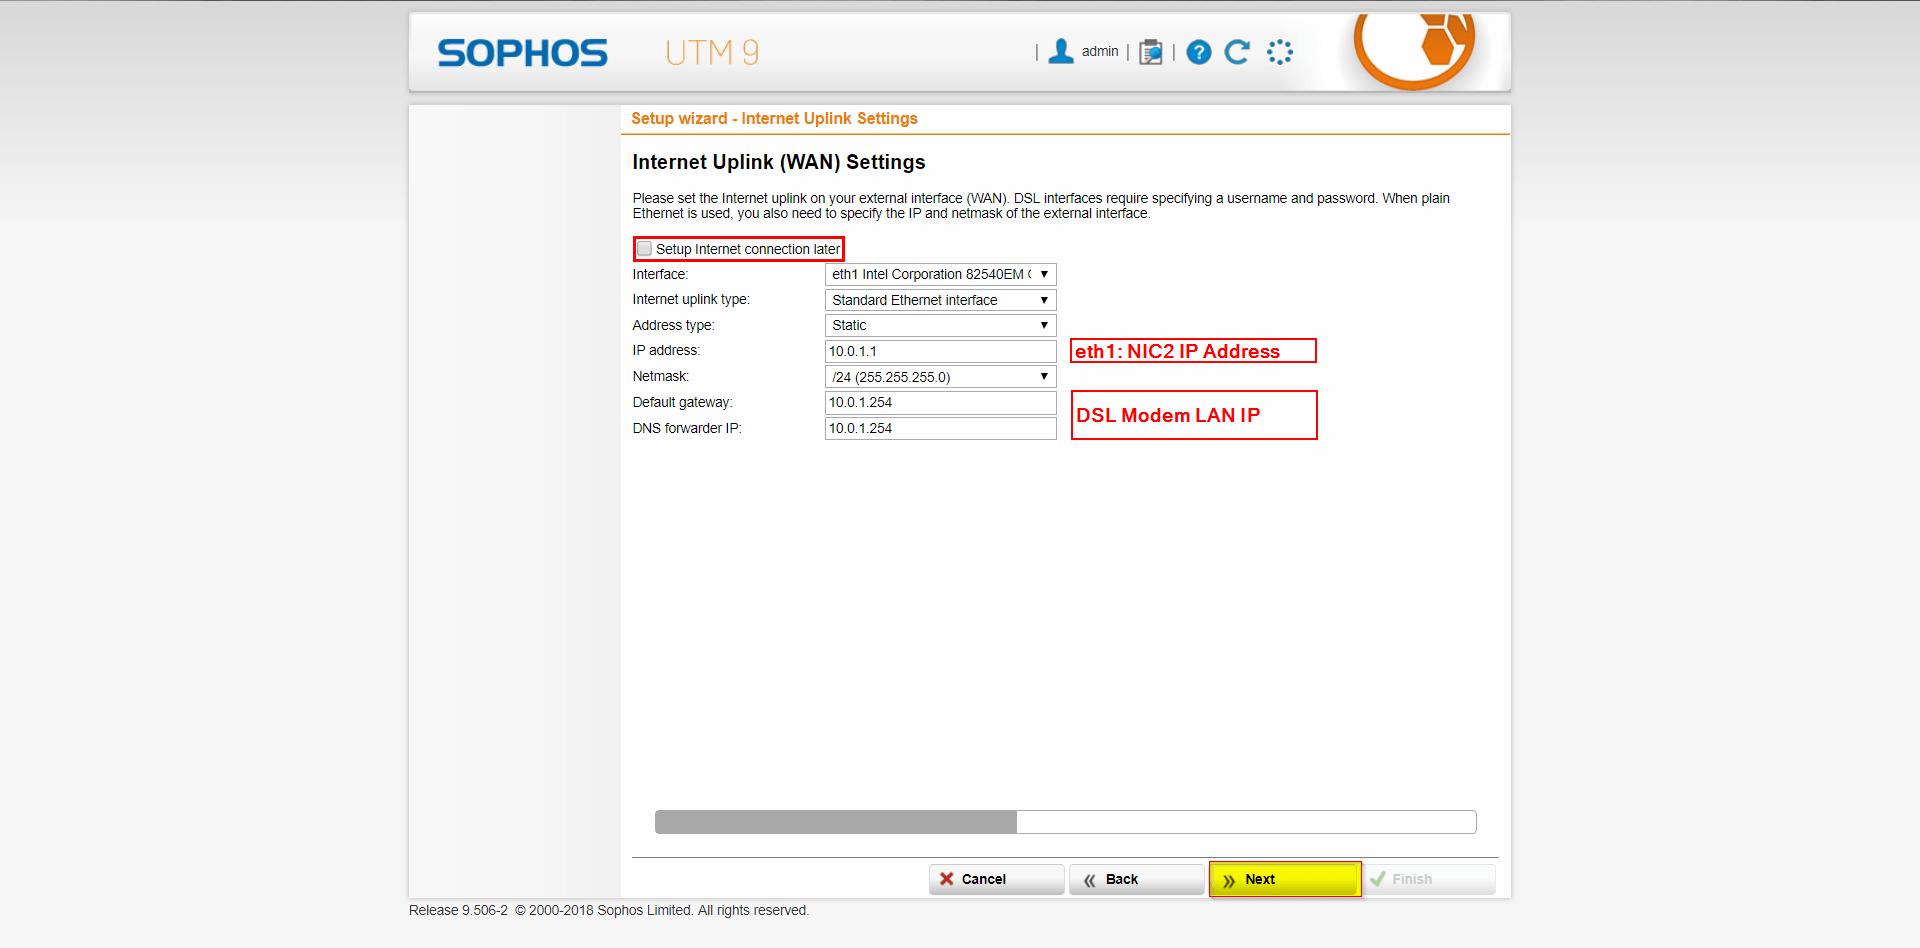
To install the IDS box correctly, we need to ensure it intercepts traffic from both the external and internal networks. This involves connecting it between our ISP modem and our local network switch. By plugging it into NIC:2 for the ISP modem and NIC:1 for the local network switch, all network traffic will pass through the IDS.
Once set up, the IDS will act as a router, internet gateway, firewall, and DNS forwarder for all devices on our local network. It will have complete control over the network traffic, allowing us to manage it effectively.
For instance, we can create firewall rules to block inbound connections to our Smart TV from the internet, restrict communication between a gaming console and a network printer, or even prevent Wi-Fi mobile devices from accessing our NAS storage. These customizable rules give us the power to control and secure our network according to our specific preferences.
Downloading Sophos ISO image and obtaining free licence.
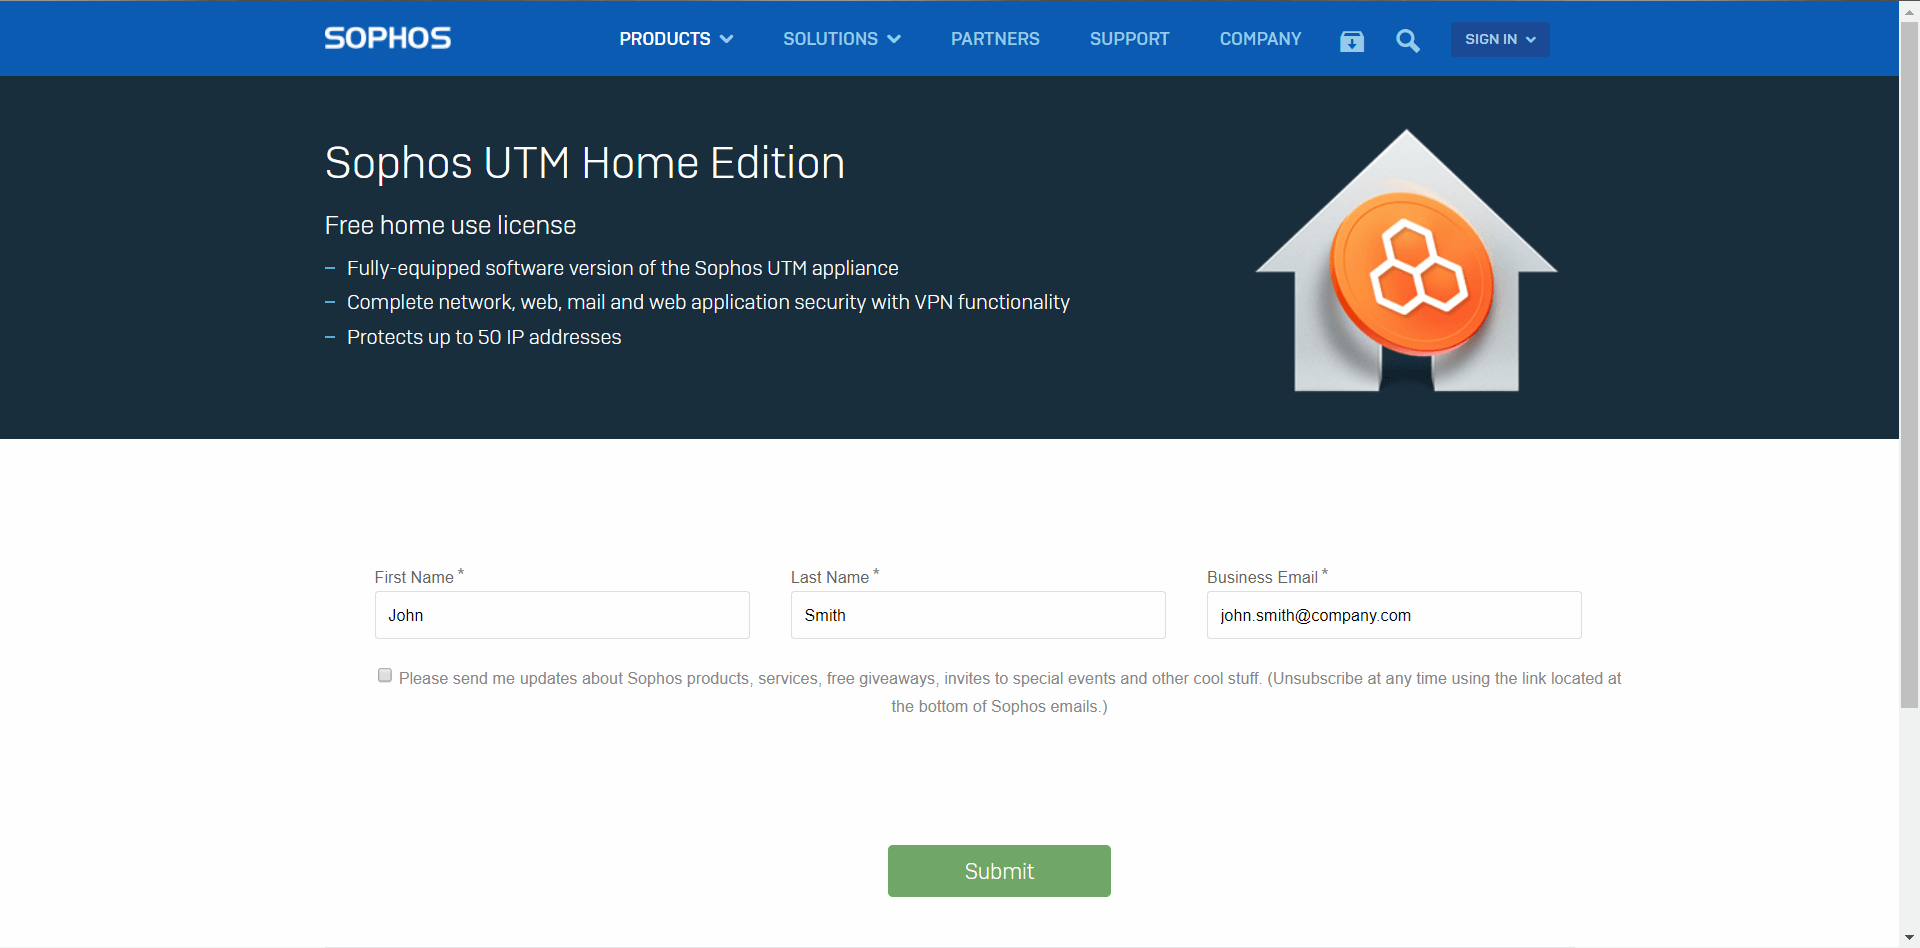
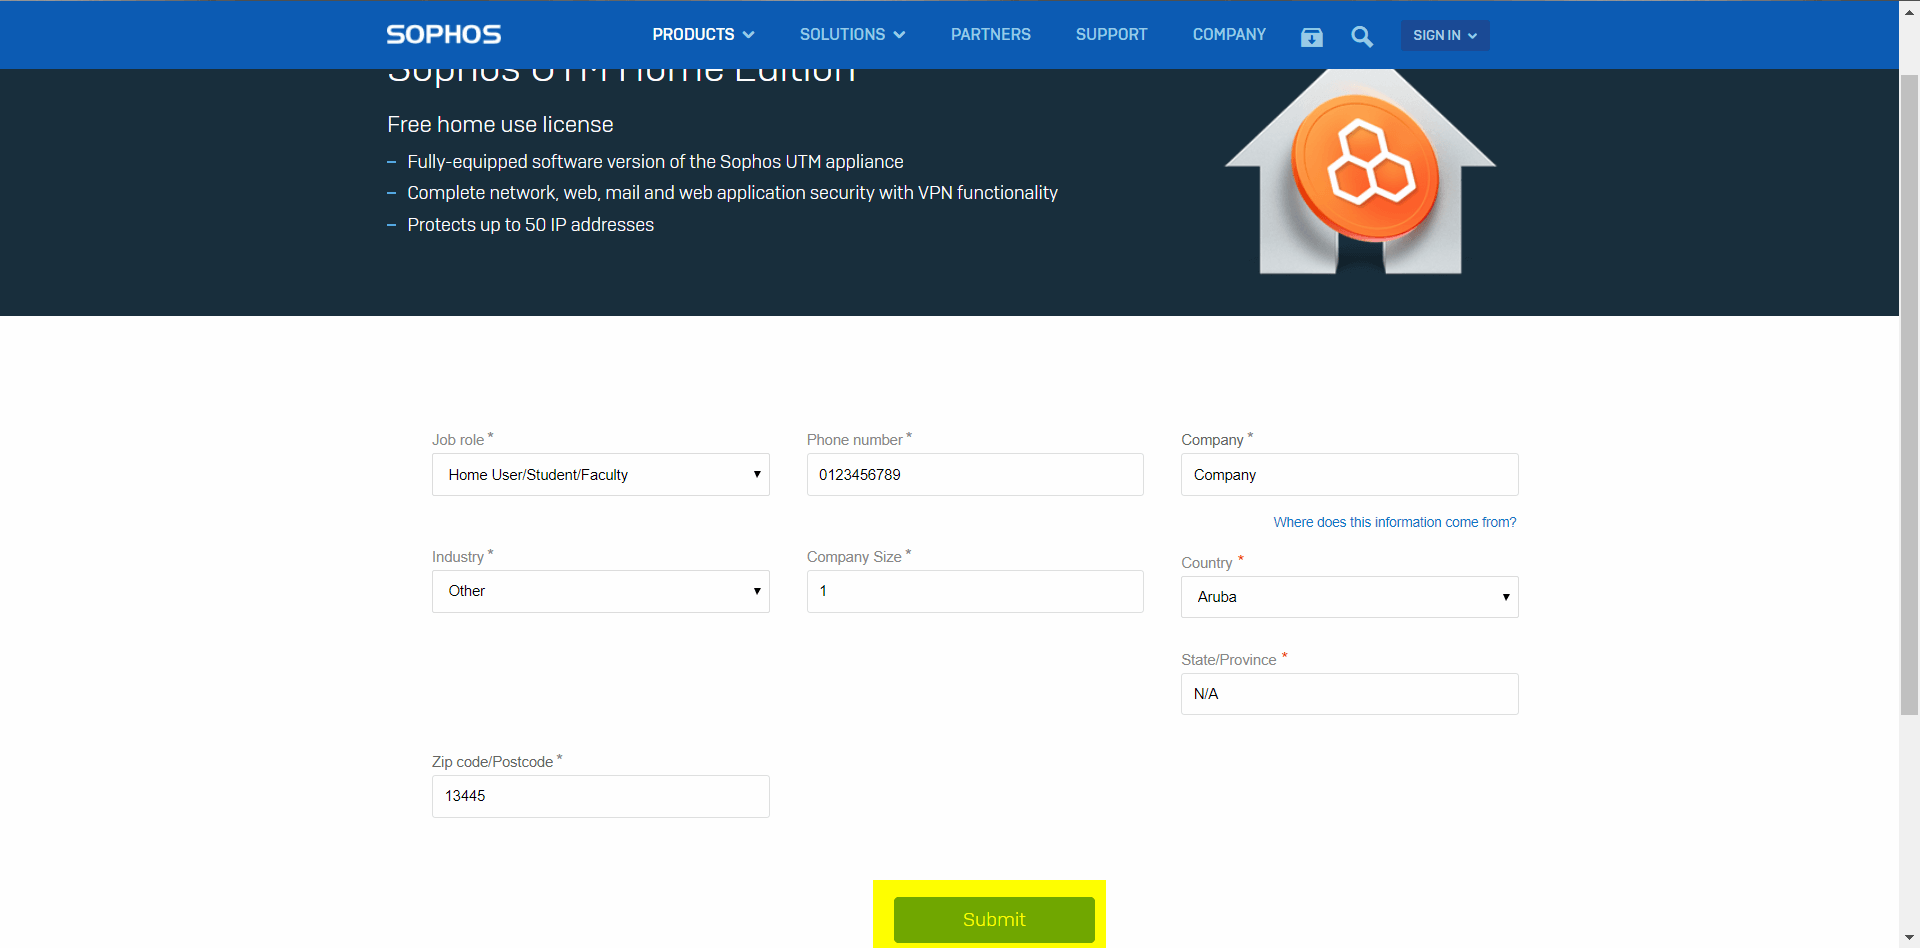
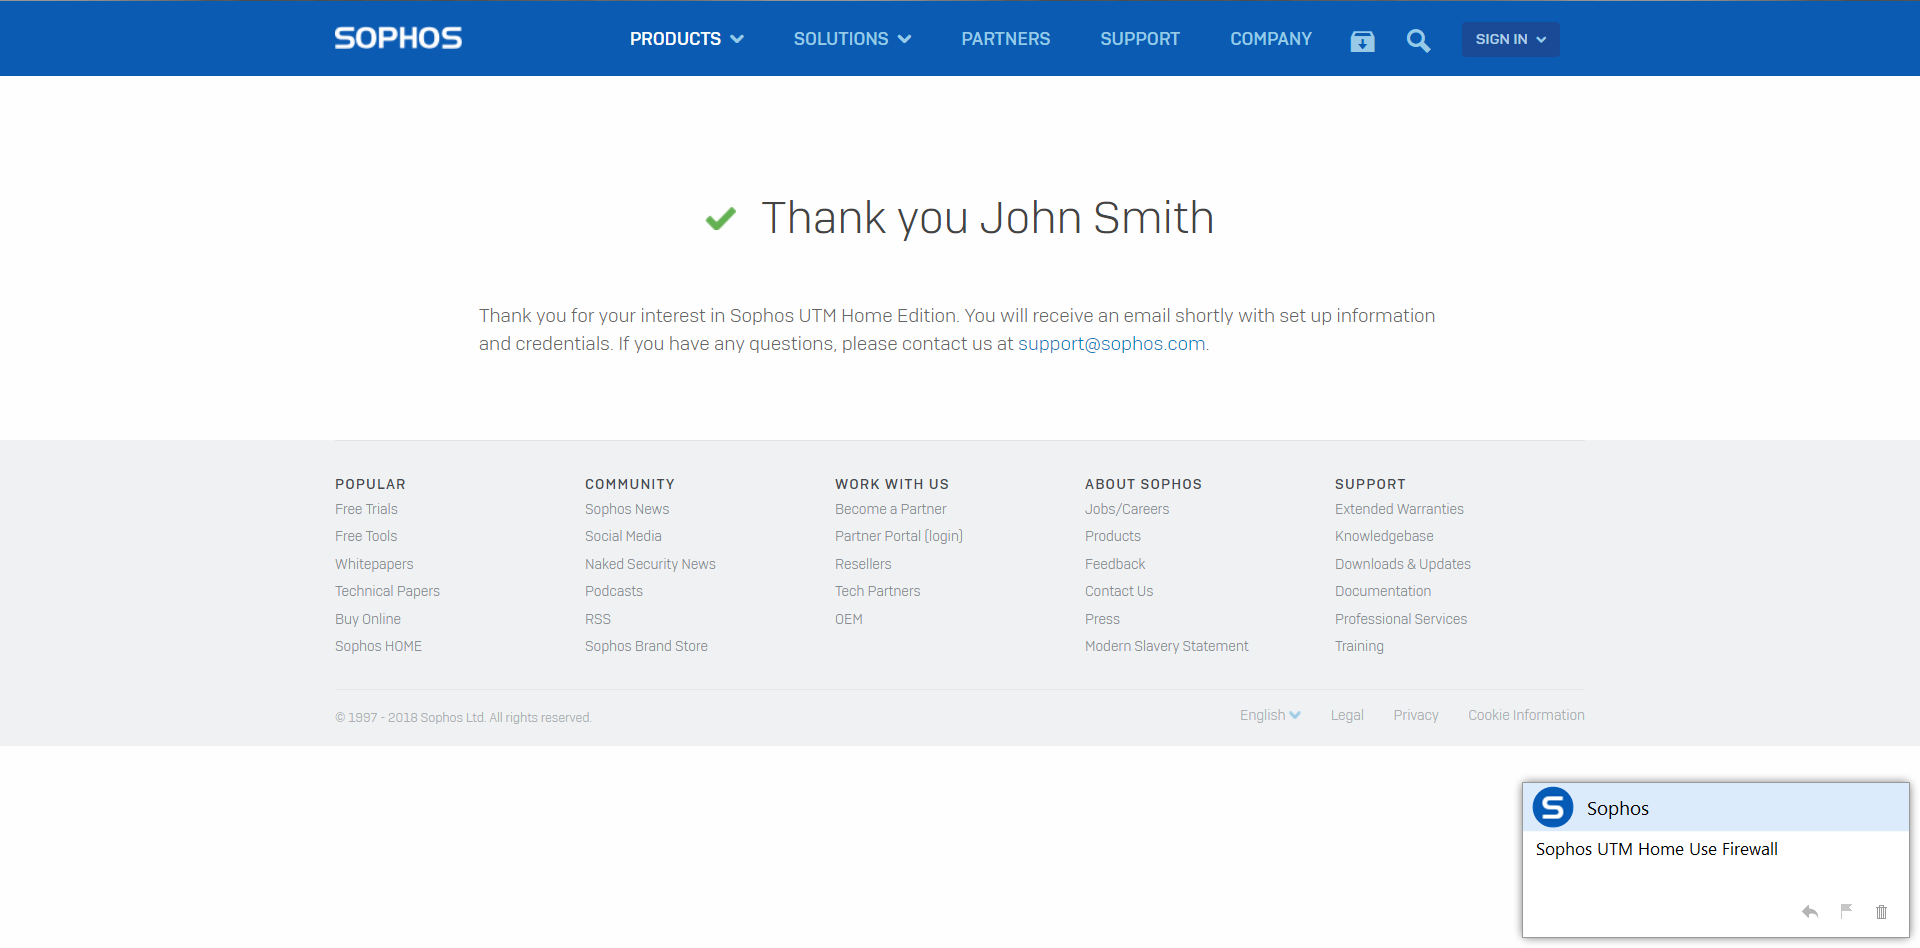
The free Sophos UTM Home Edition provides comprehensive network, web, mail, and web application security, along with VPN functionality. It can protect up to 50 IP addresses. To get started, you can register and request the software download URL by following this link.
Create an account as a home user and then check your email for instructions on downloading the Sophos UTM ISO image. The email will also include a free licence for the software.
During the installation process, we will be using a USB drive, so there’s no need to burn the ISO image onto a CD. This makes the installation easier and more convenient.
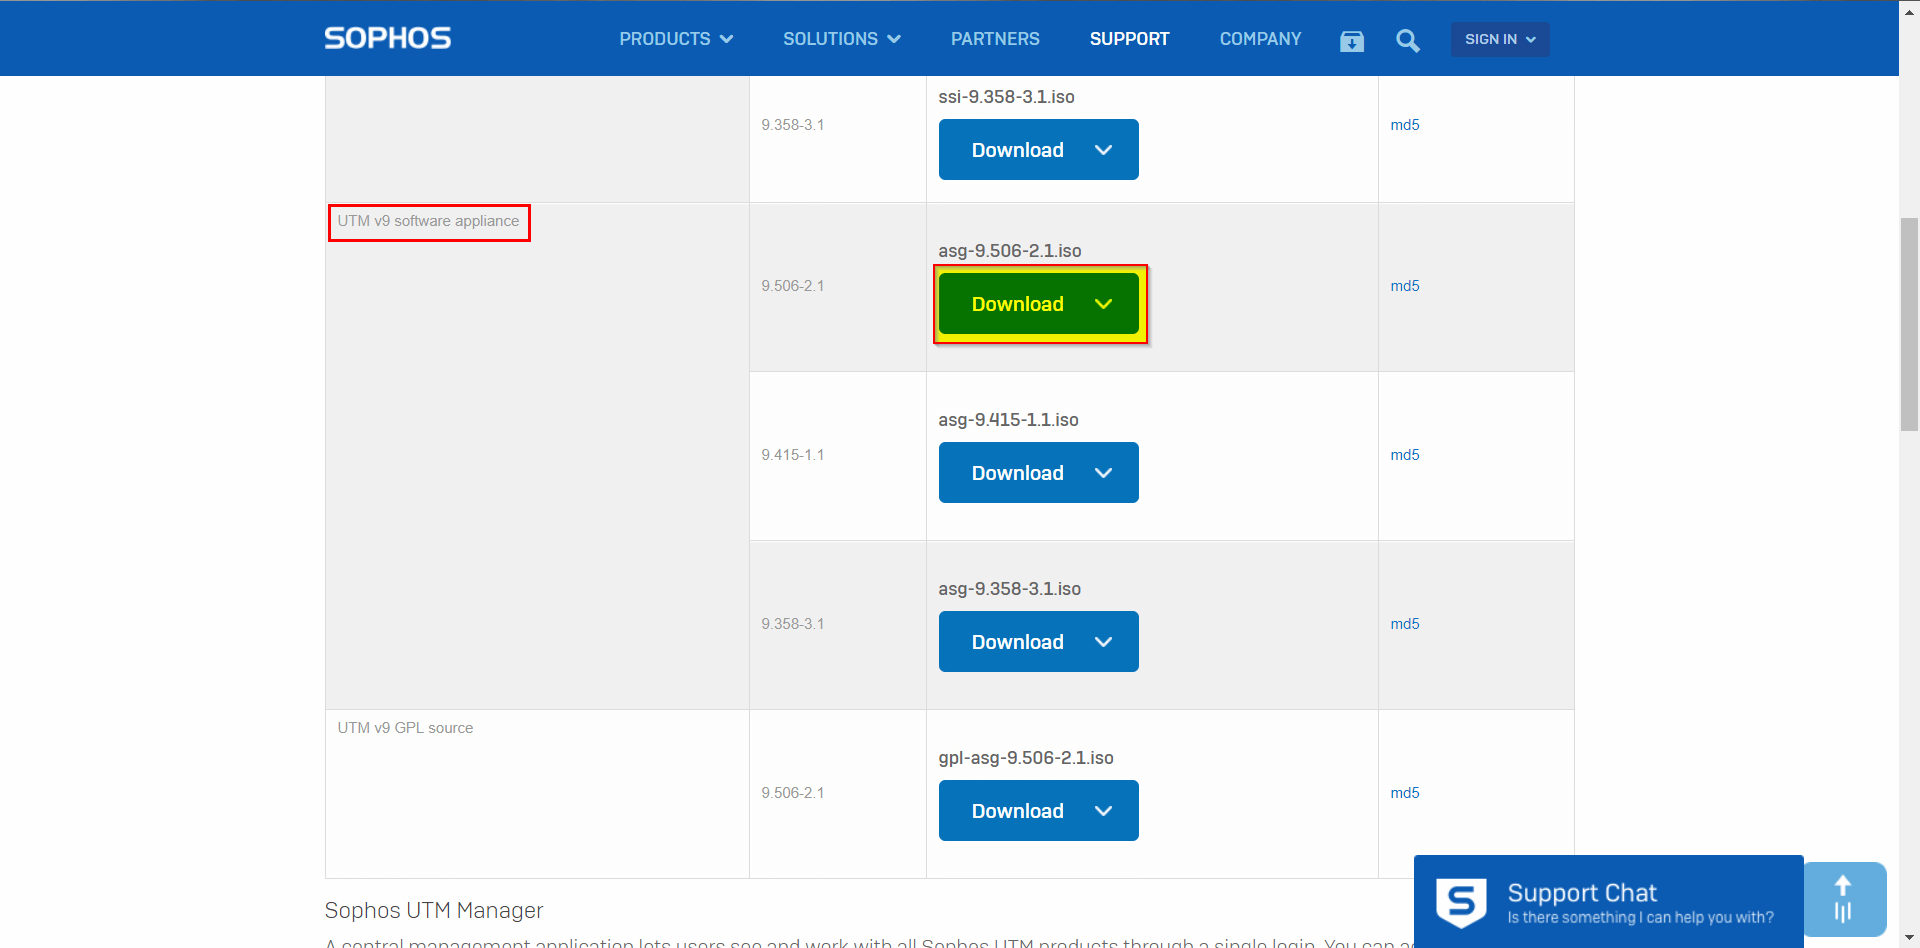
Note: You must download the latest version of the following ISO image: UTM v9 software appliance “asg-9.506-2.1.iso” (2018). Do not download hardware appliances ISO images.
 Once the ISO image has been downloaded, we create a bootable USB installation drive using Rufus. ISO requires at least 1GB on a memory stick.
To begin the installation process, connect a keyboard and a monitor to your PC. Next, plug in the USB installation media into one of the free USB ports. Once everything is connected, power up your PC.
During the startup, access the BIOS settings by pressing a specific key (usually displayed on the screen during startup, such as F2 or Del). Inside the BIOS settings, locate the boot sequence configuration and set it to prioritize booting from an external USB device.
By configuring the boot sequence in this way, your PC will recognize and boot from the USB installation media, allowing you to proceed with the installation of the desired software or operating system.
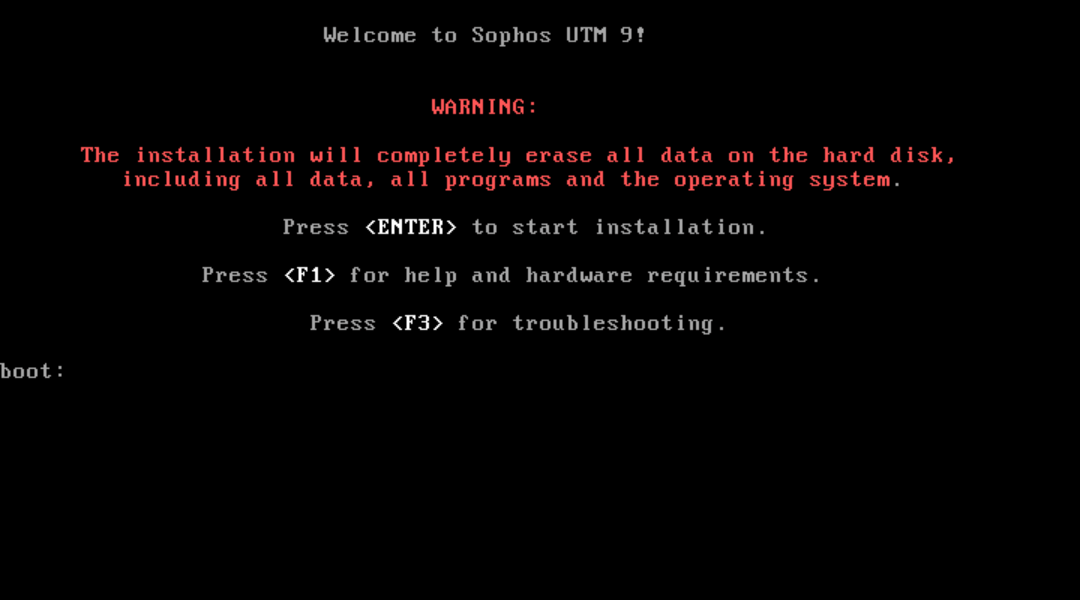
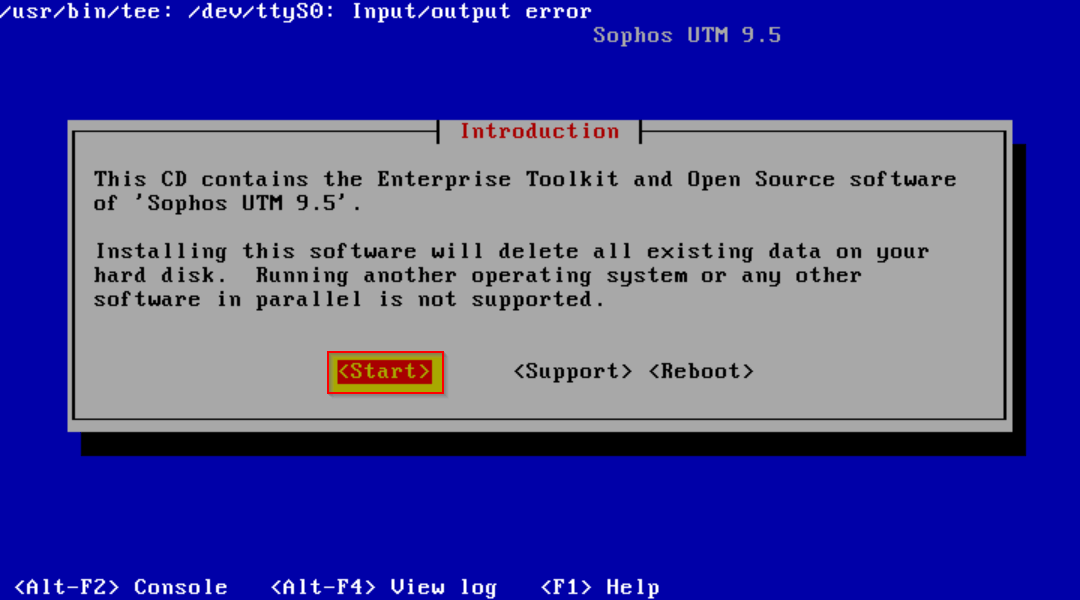
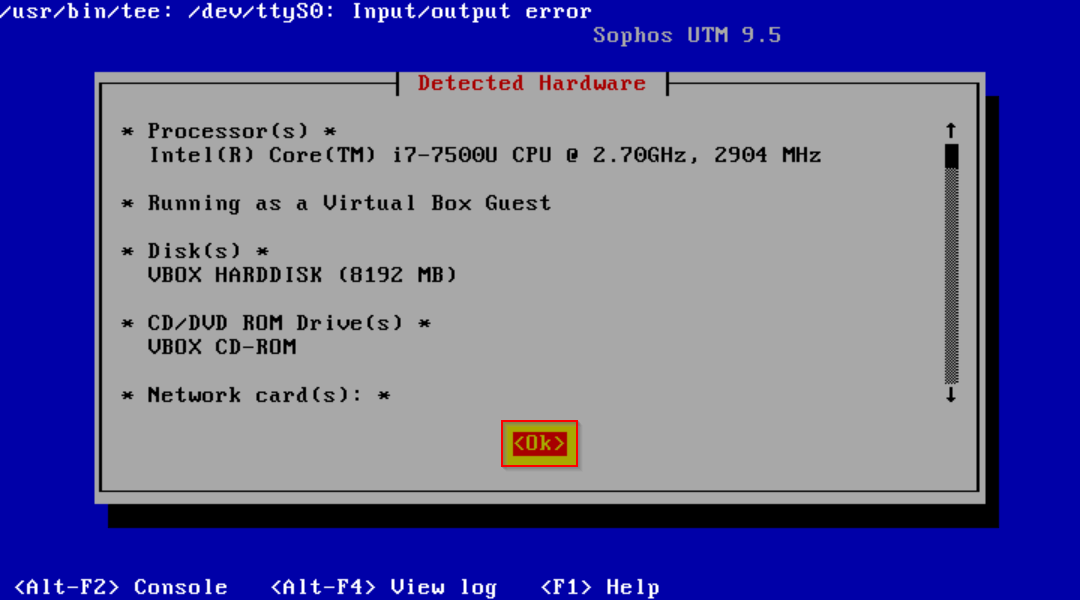
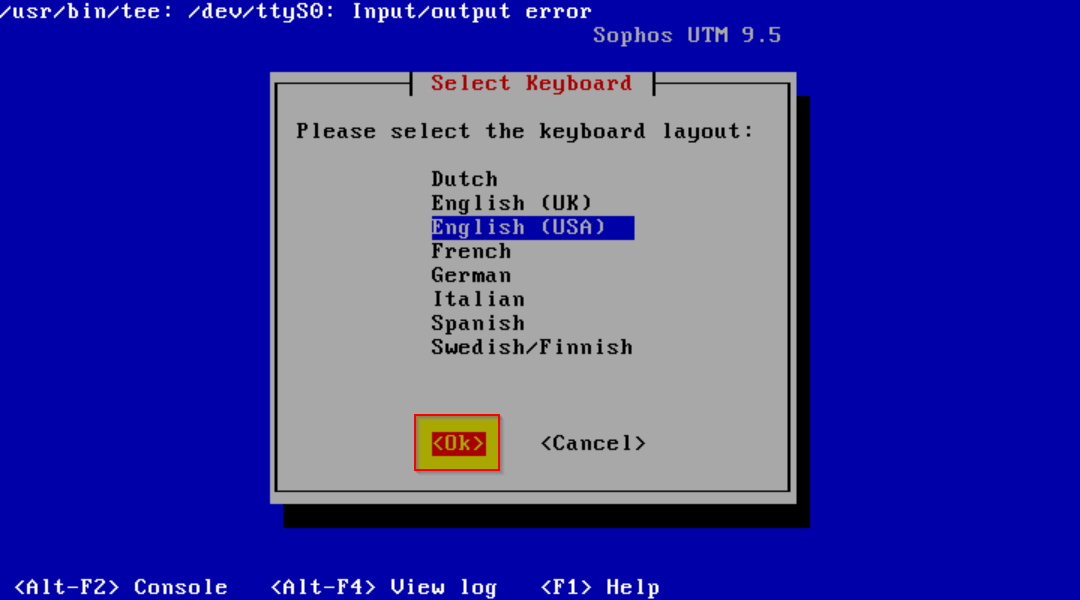
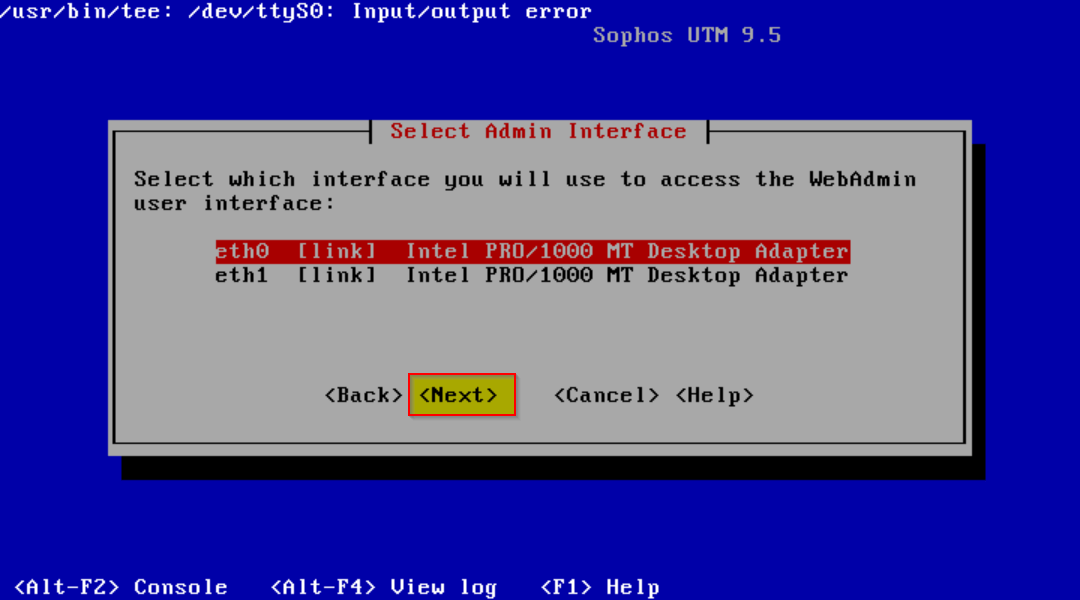
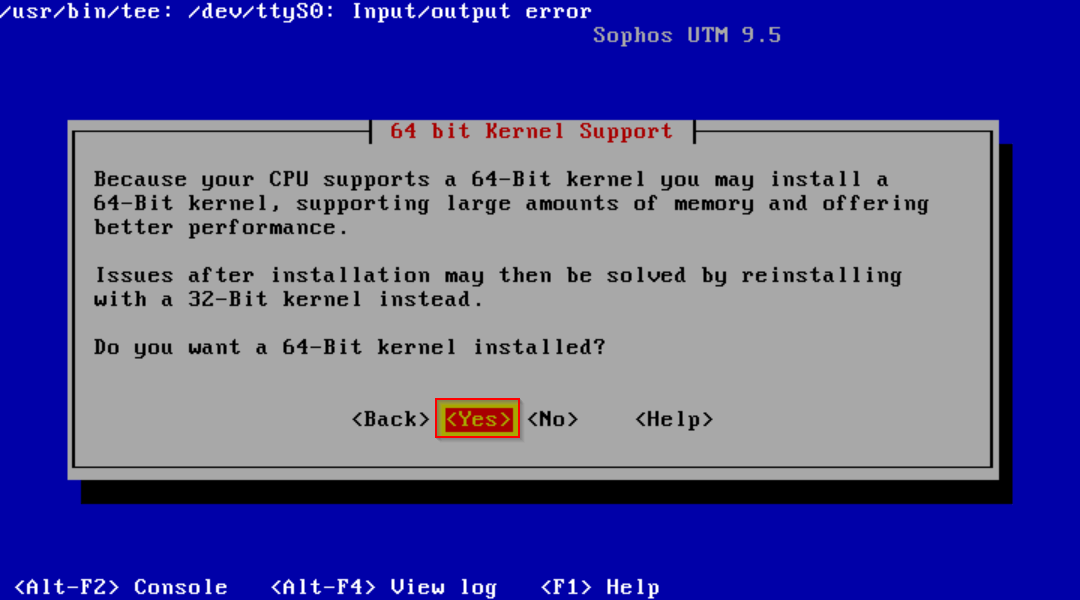
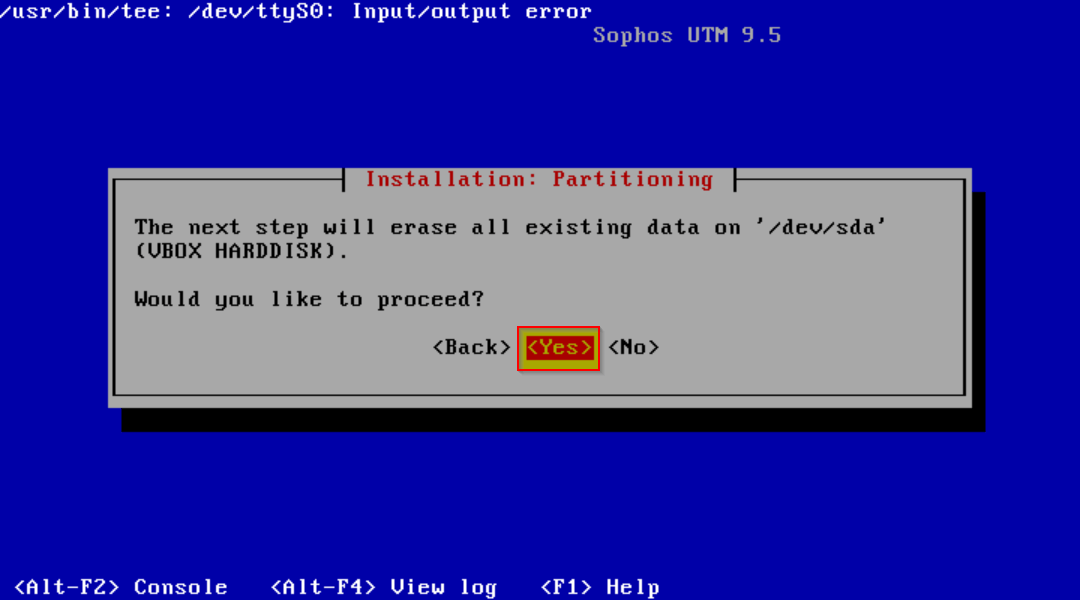
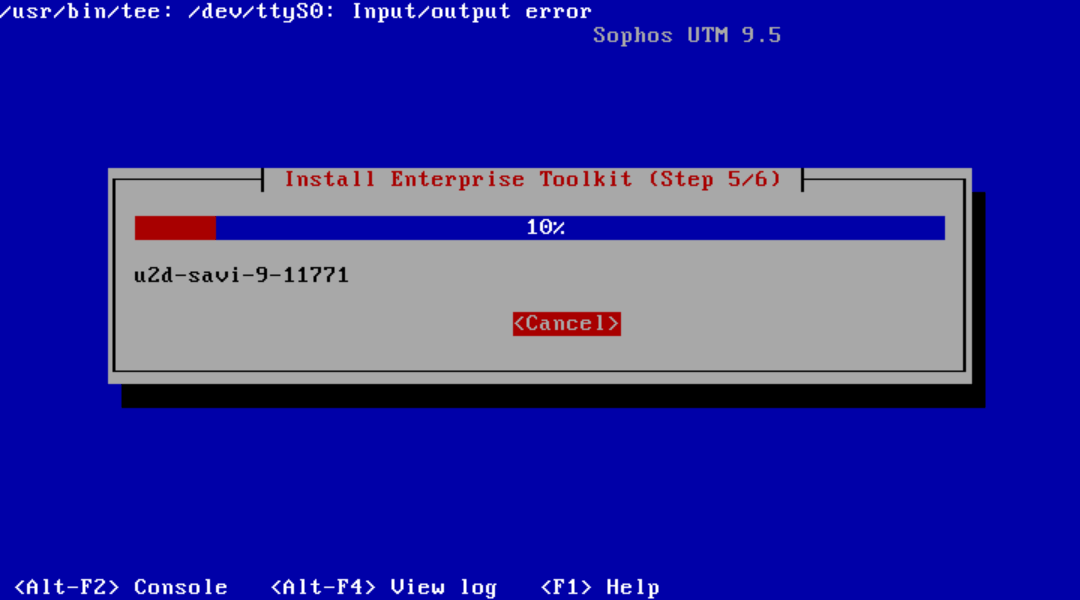
Let’s begin the installation process:


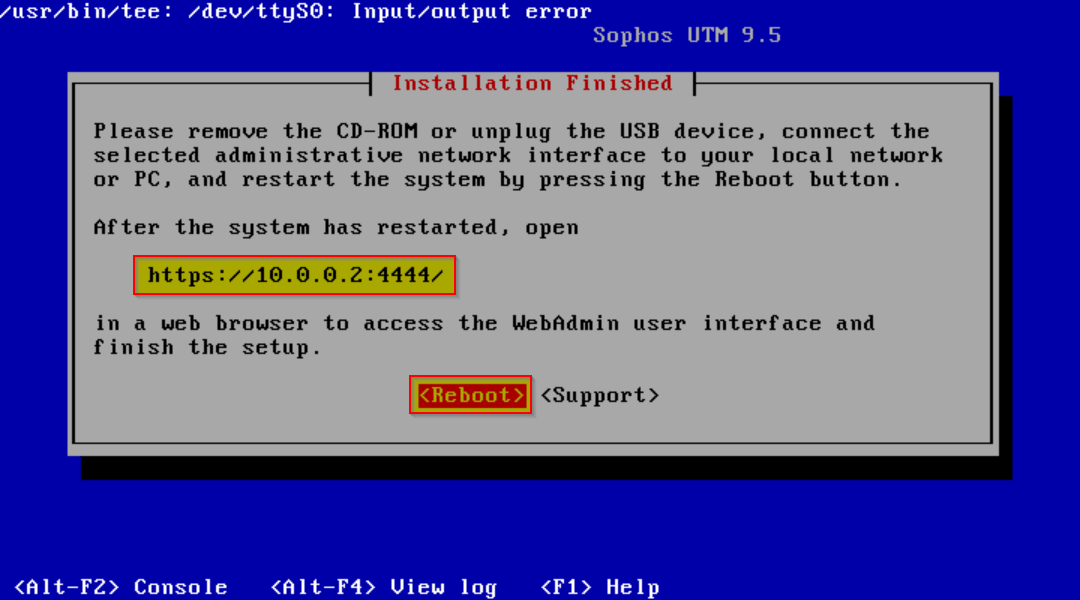
 TIP: After the first reboot, you can log in to the system as the root user. During the initial login, leave the “Old Password” field empty and set a new, secure password for the root user account.
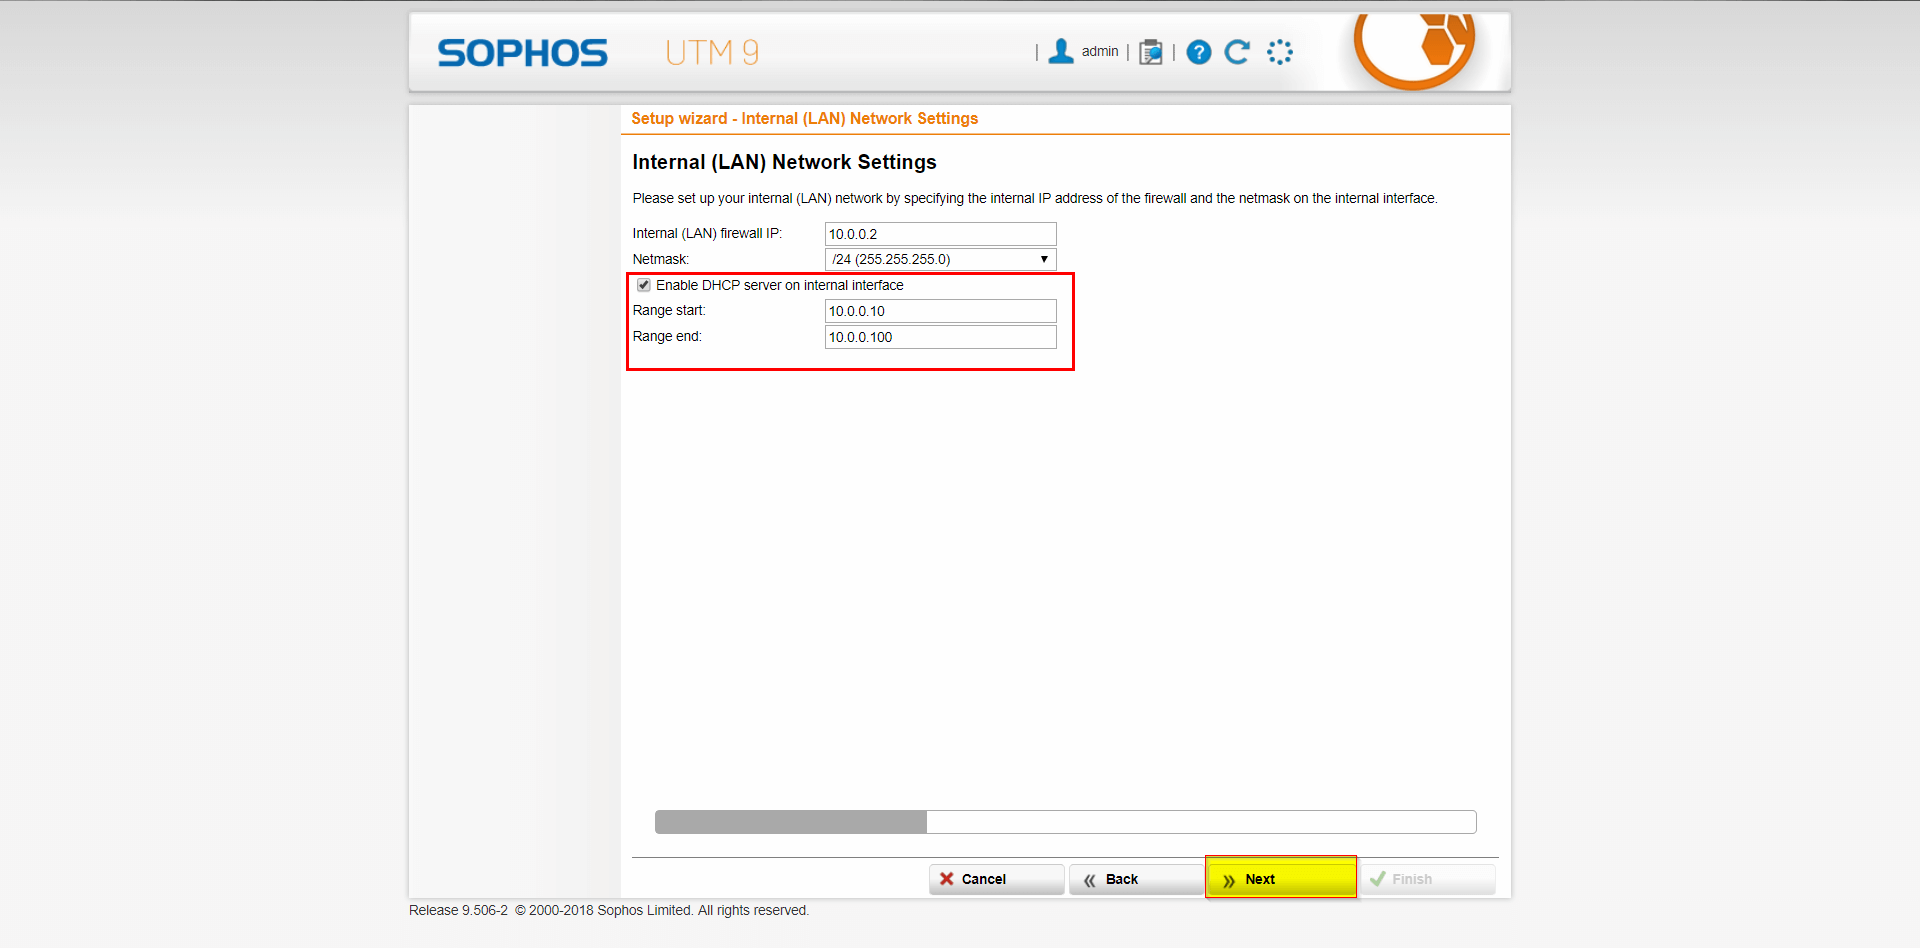
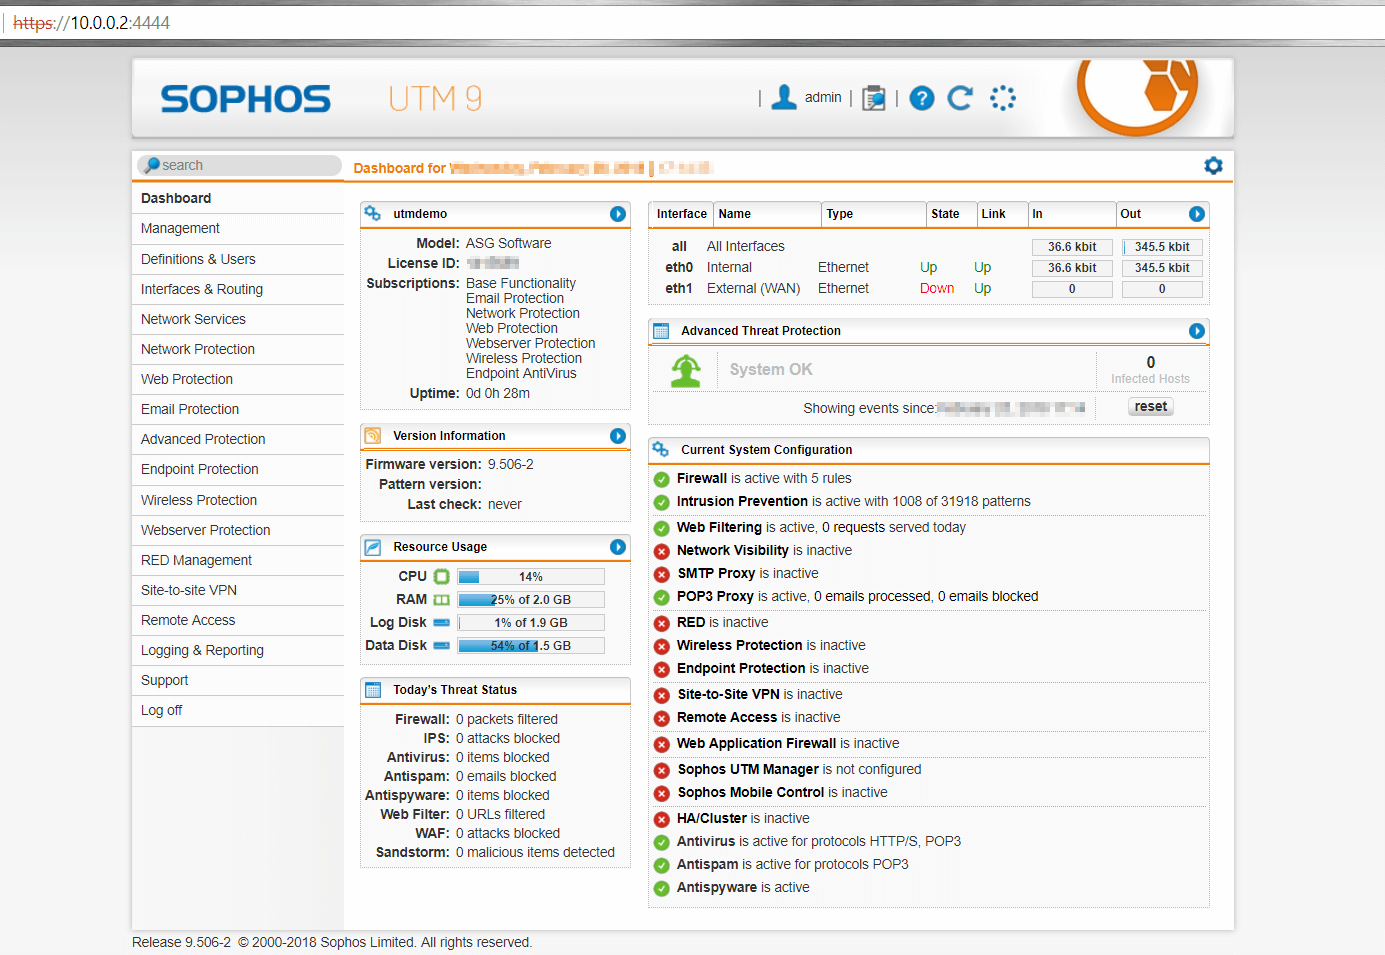
Now, the system is ready for the initial setup. All configuration will be done through the Web Admin interface using a web browser. Open the following URL: https://10.0.0.2:4444 (replace with the IP of NIC1) to access the basic system setup.
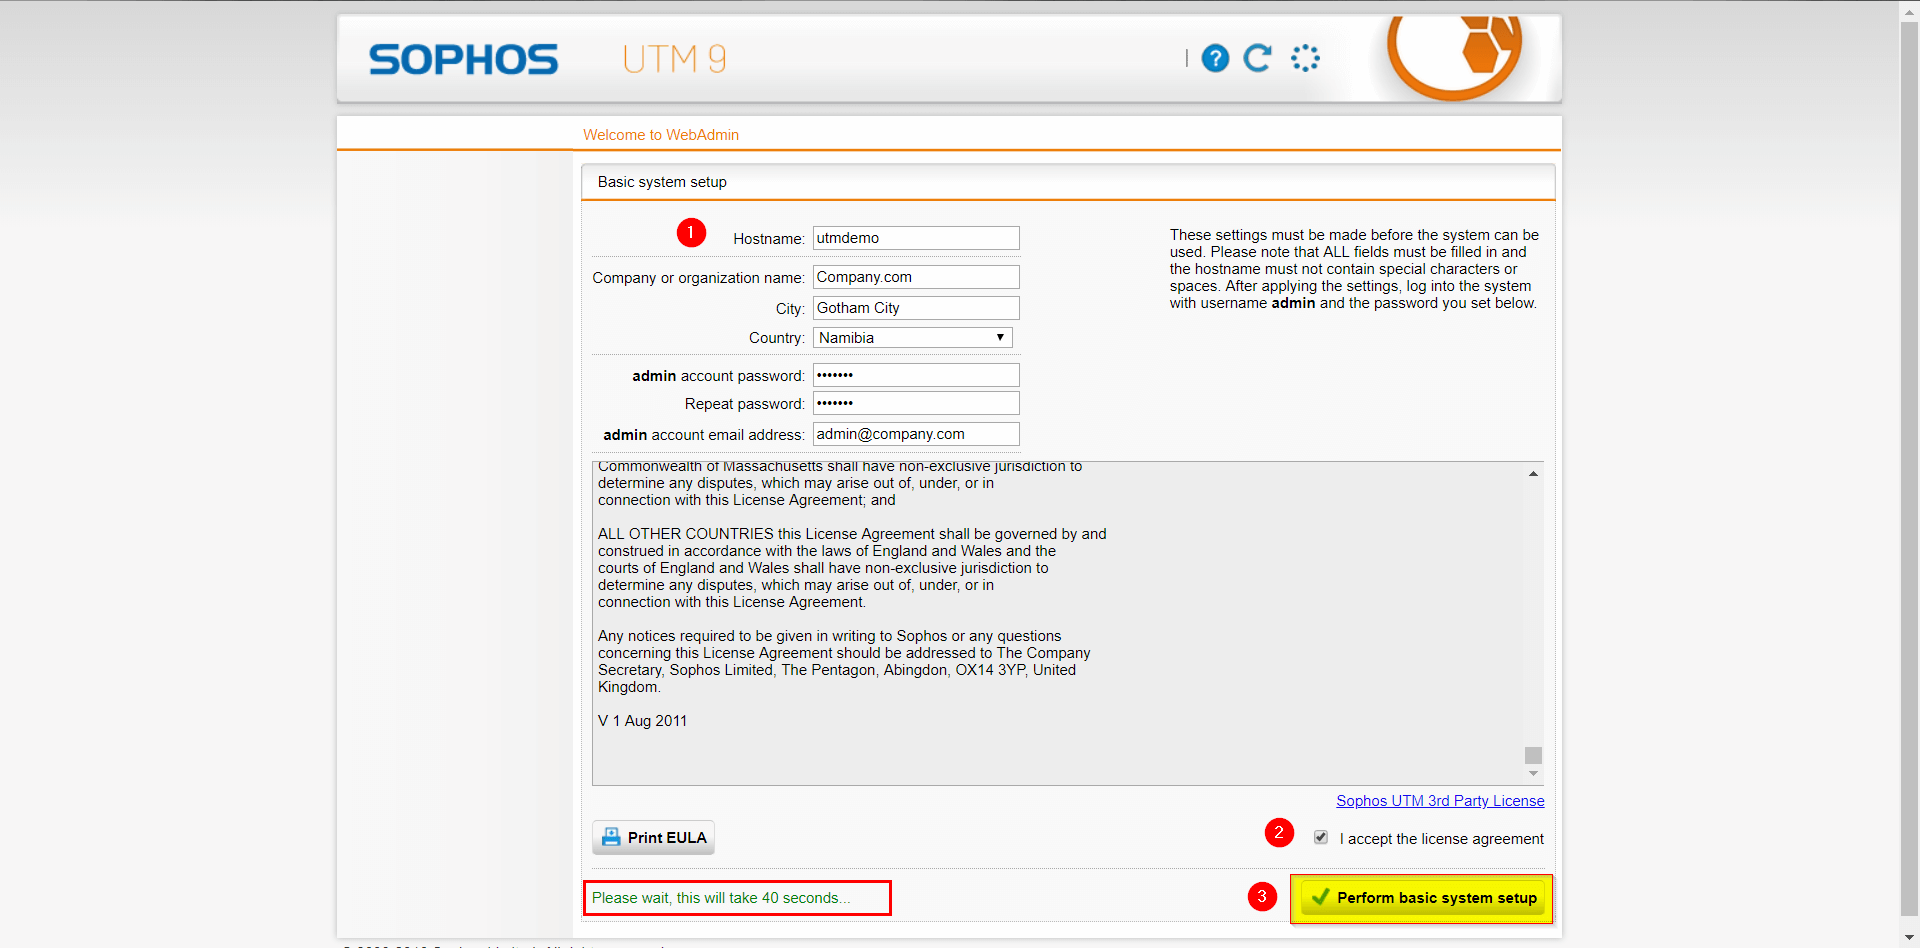
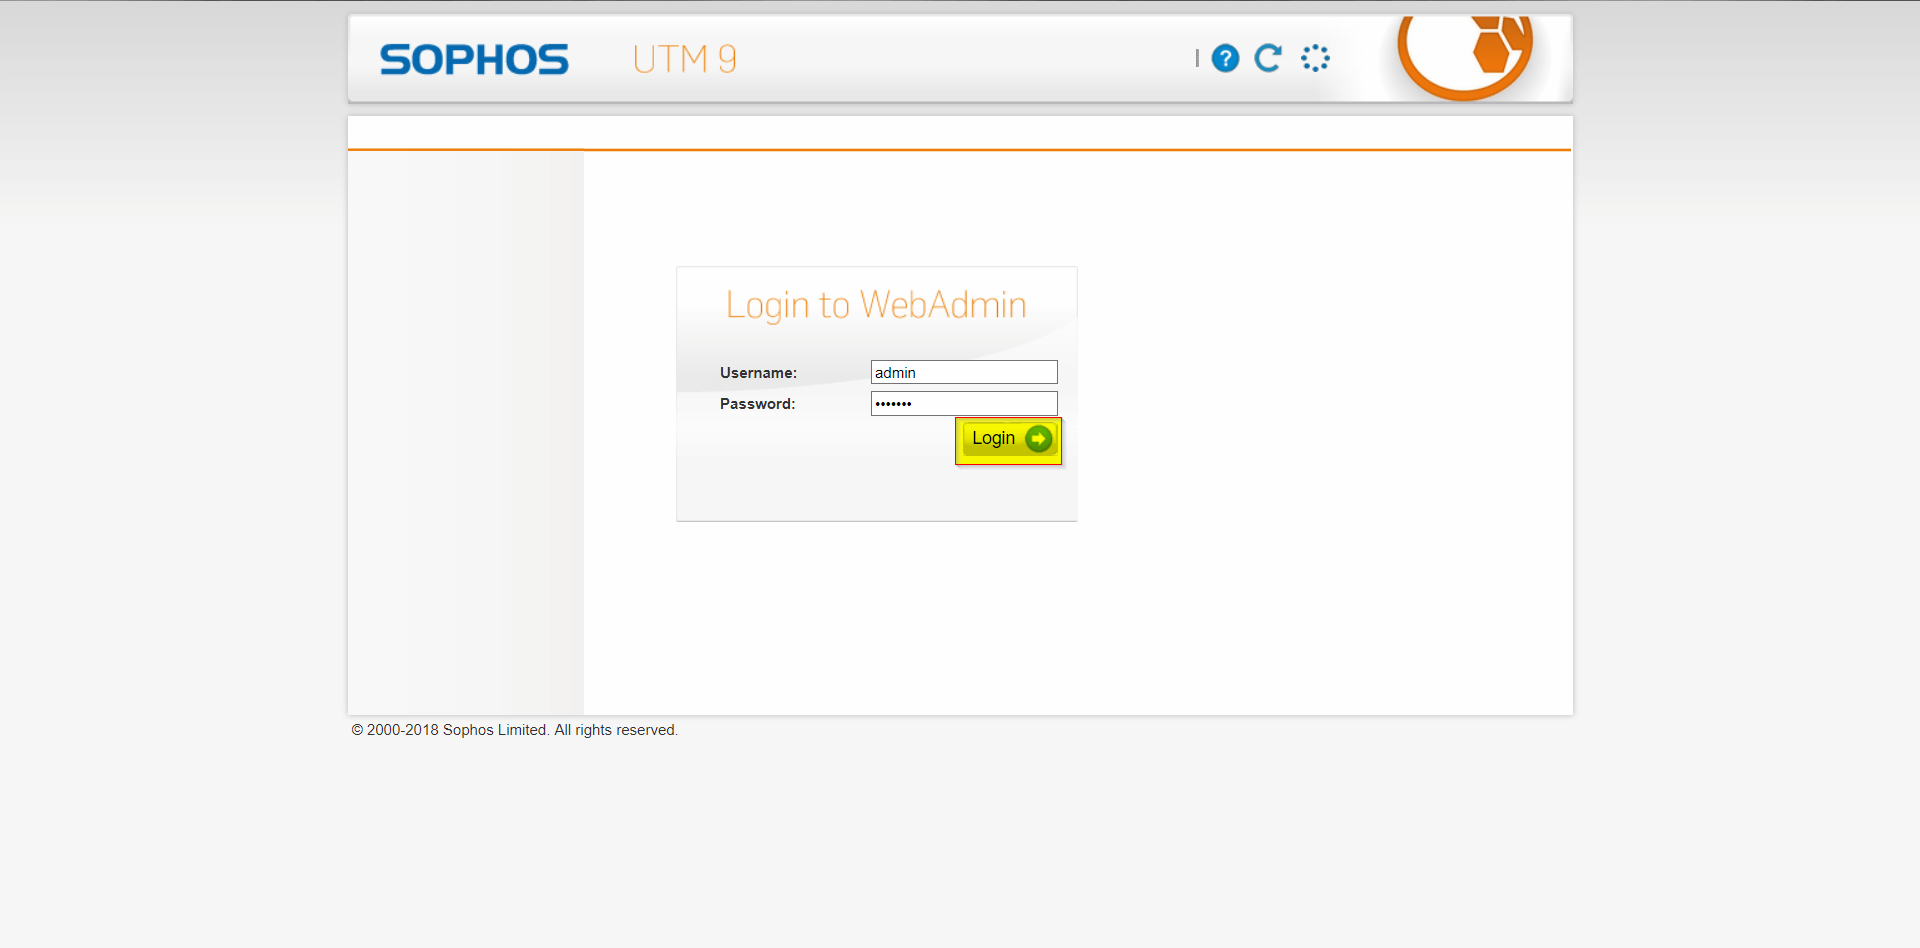
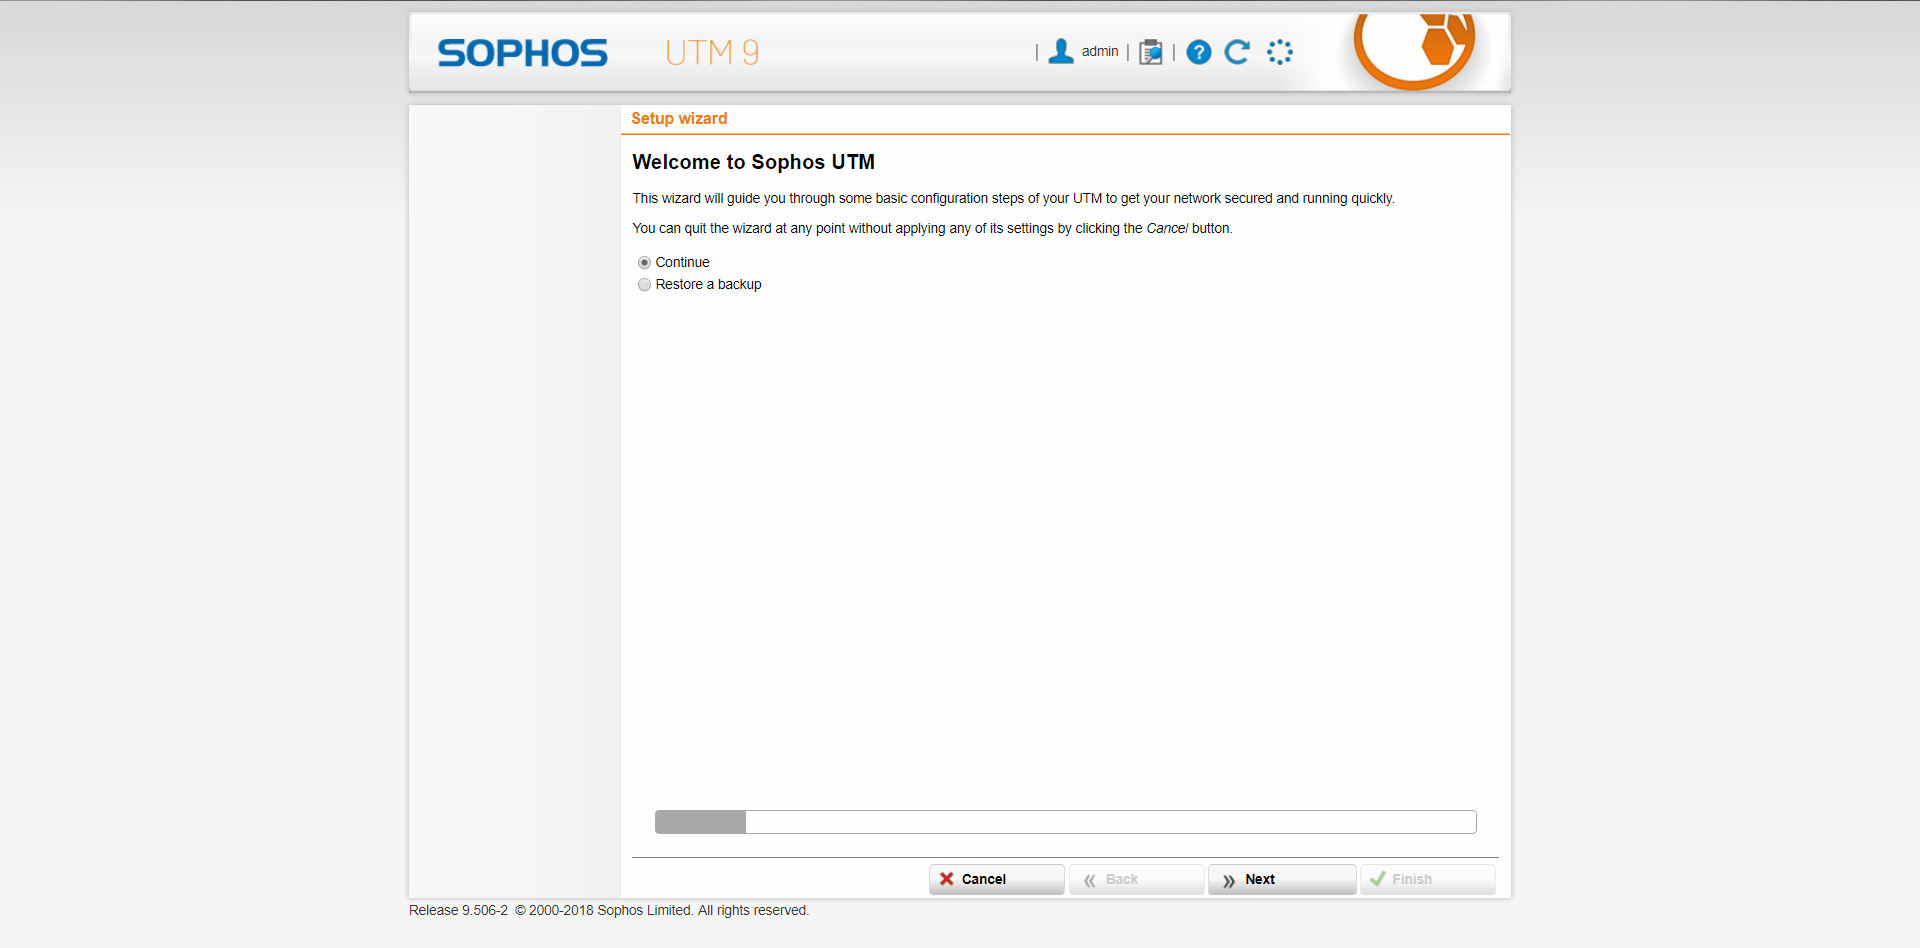
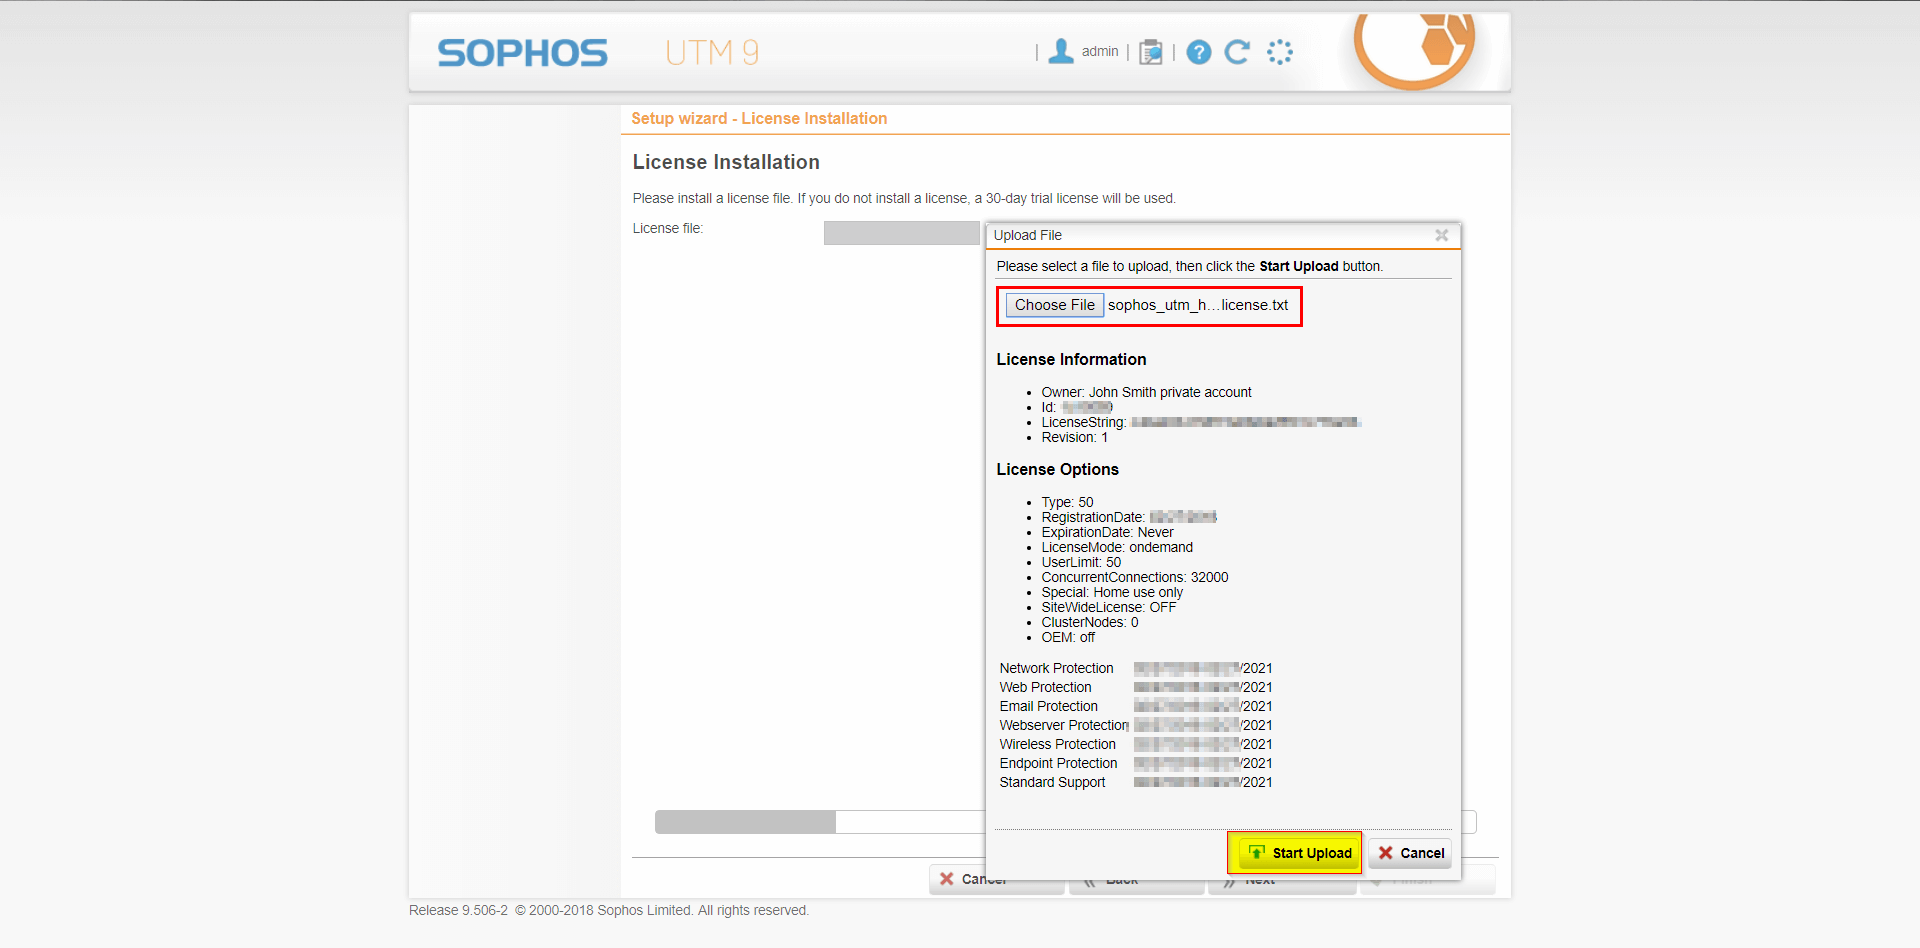
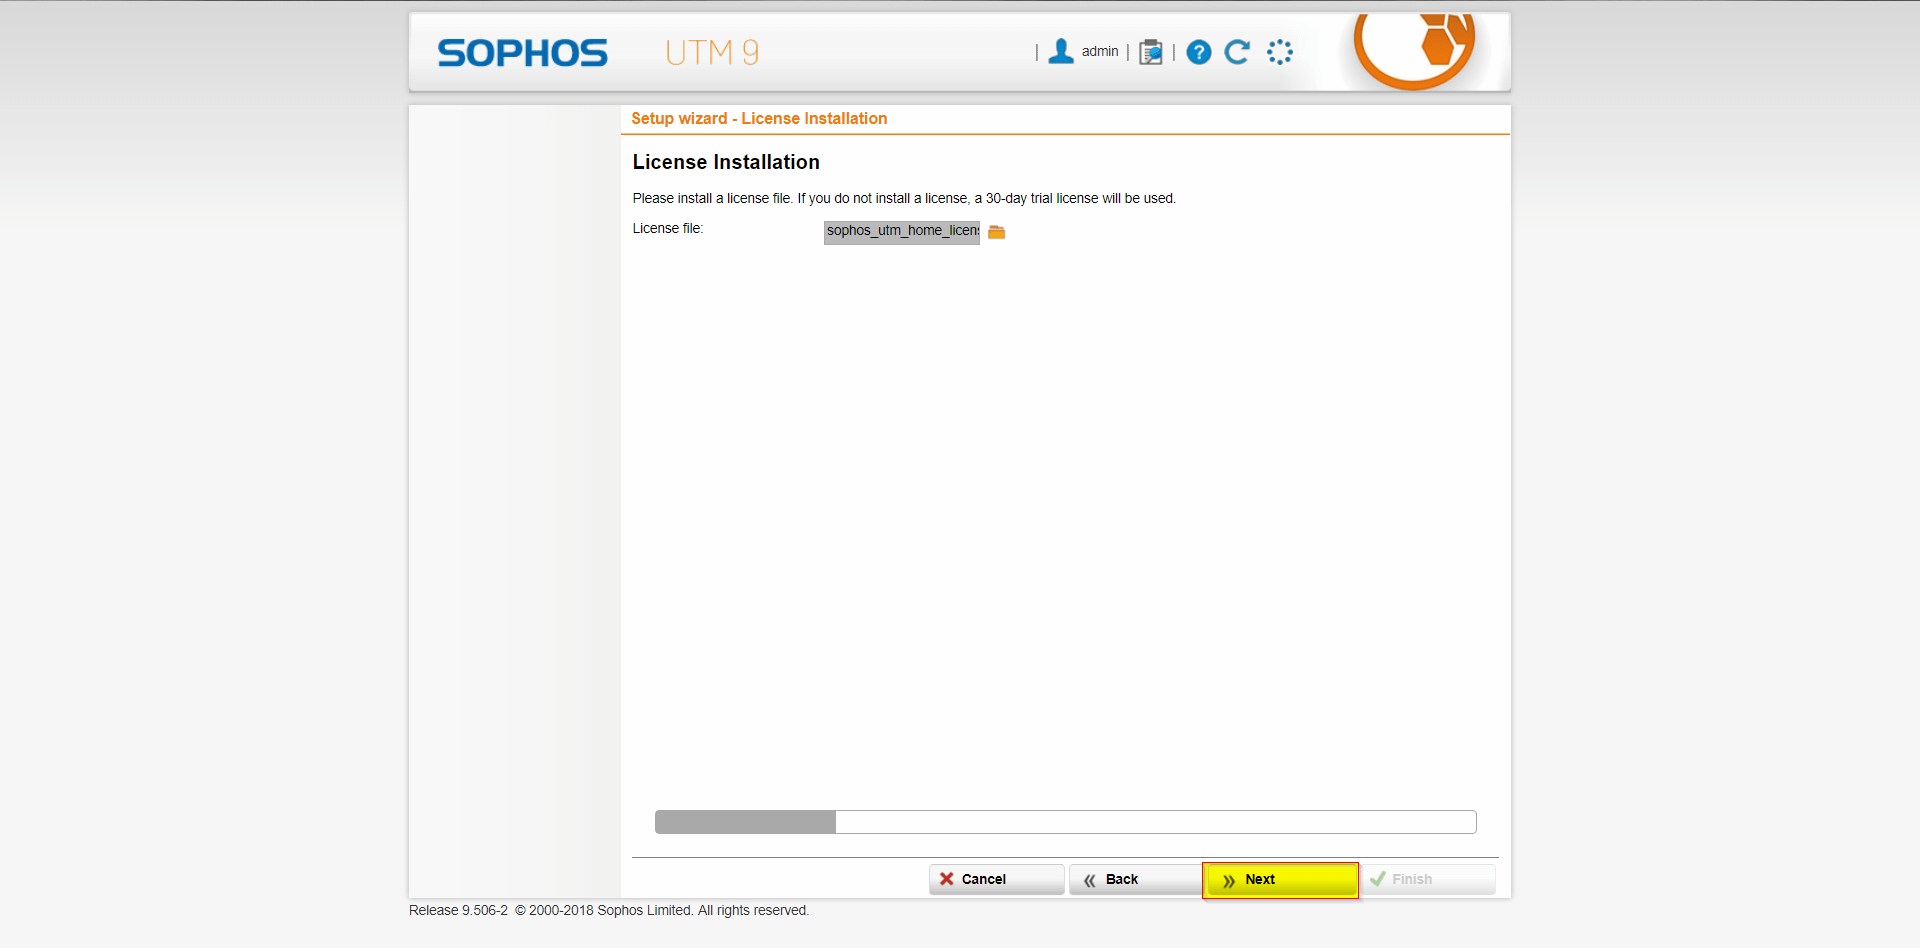
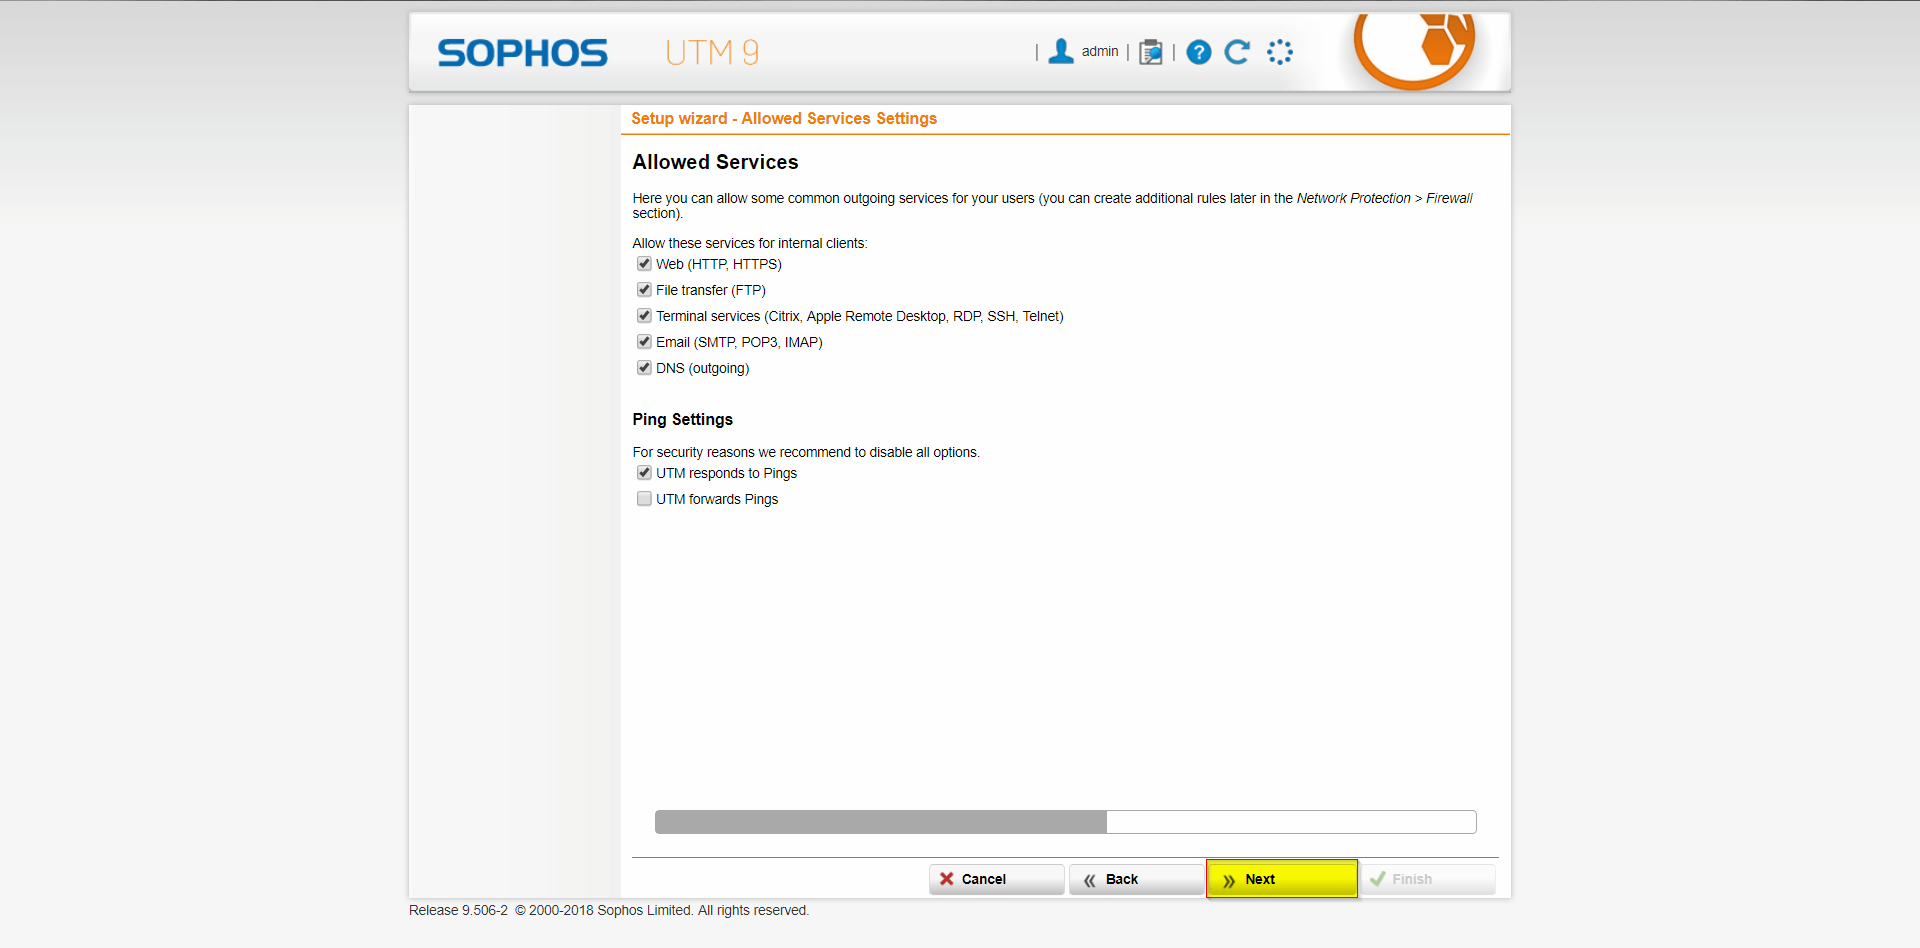
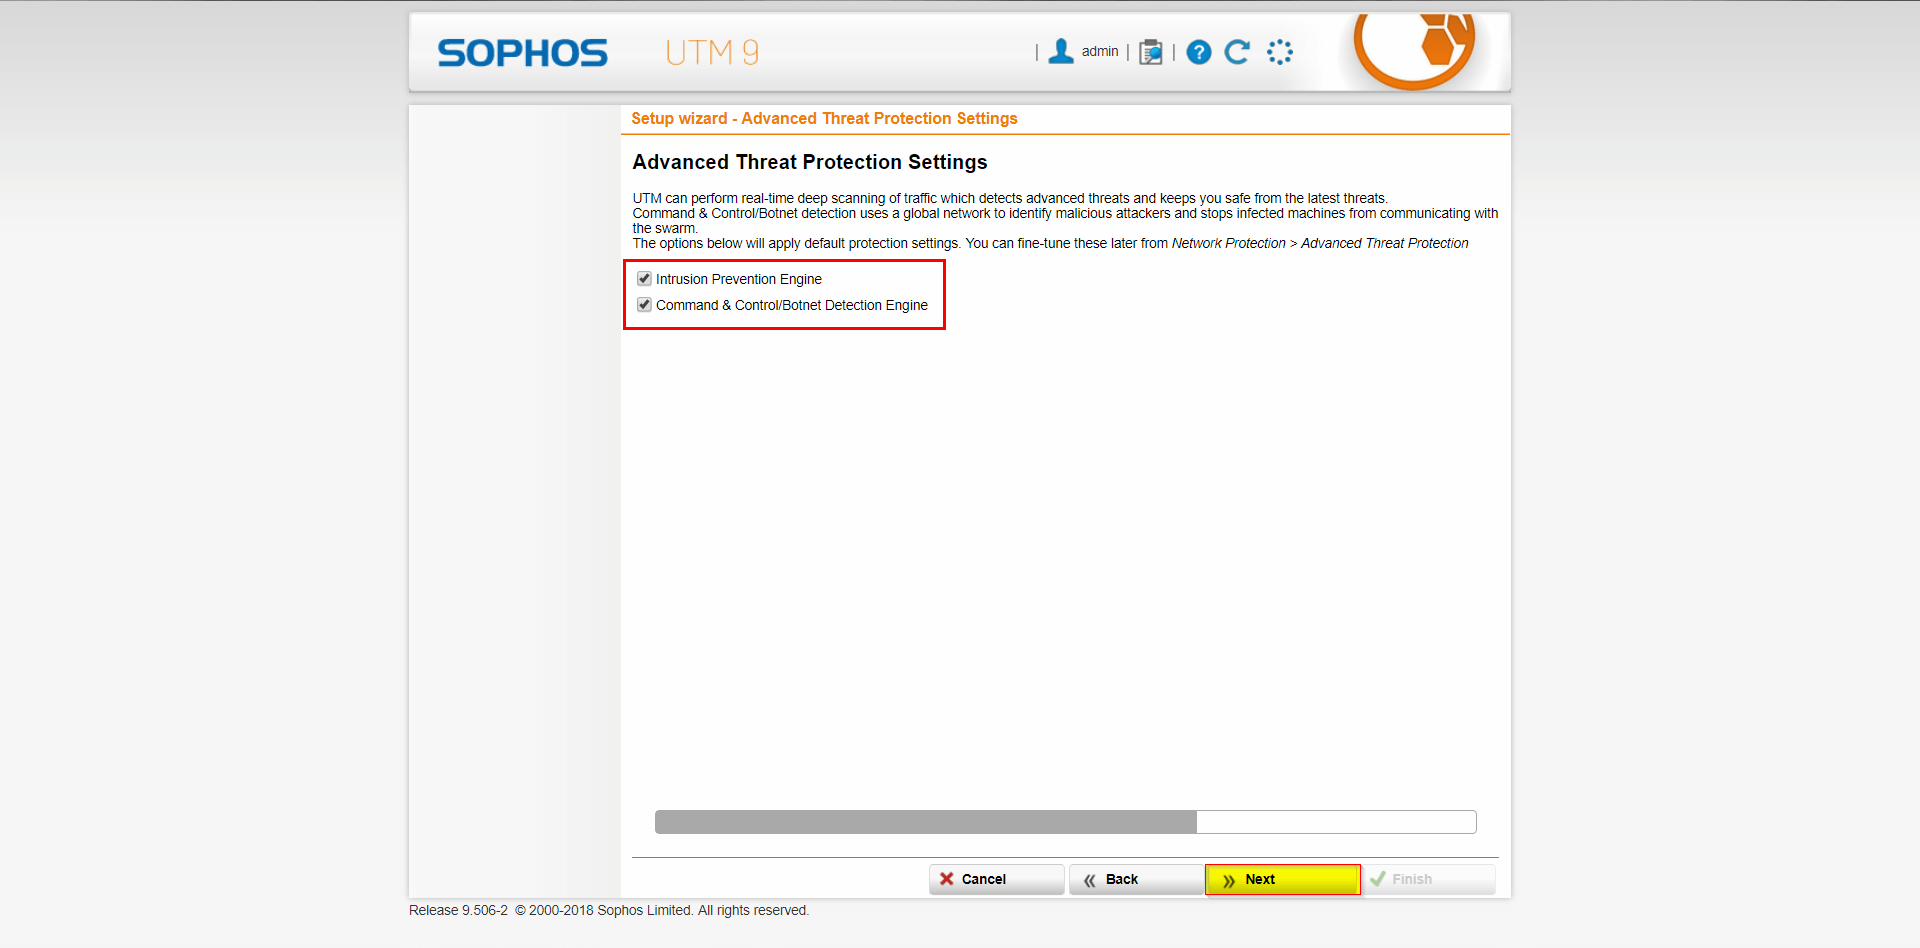
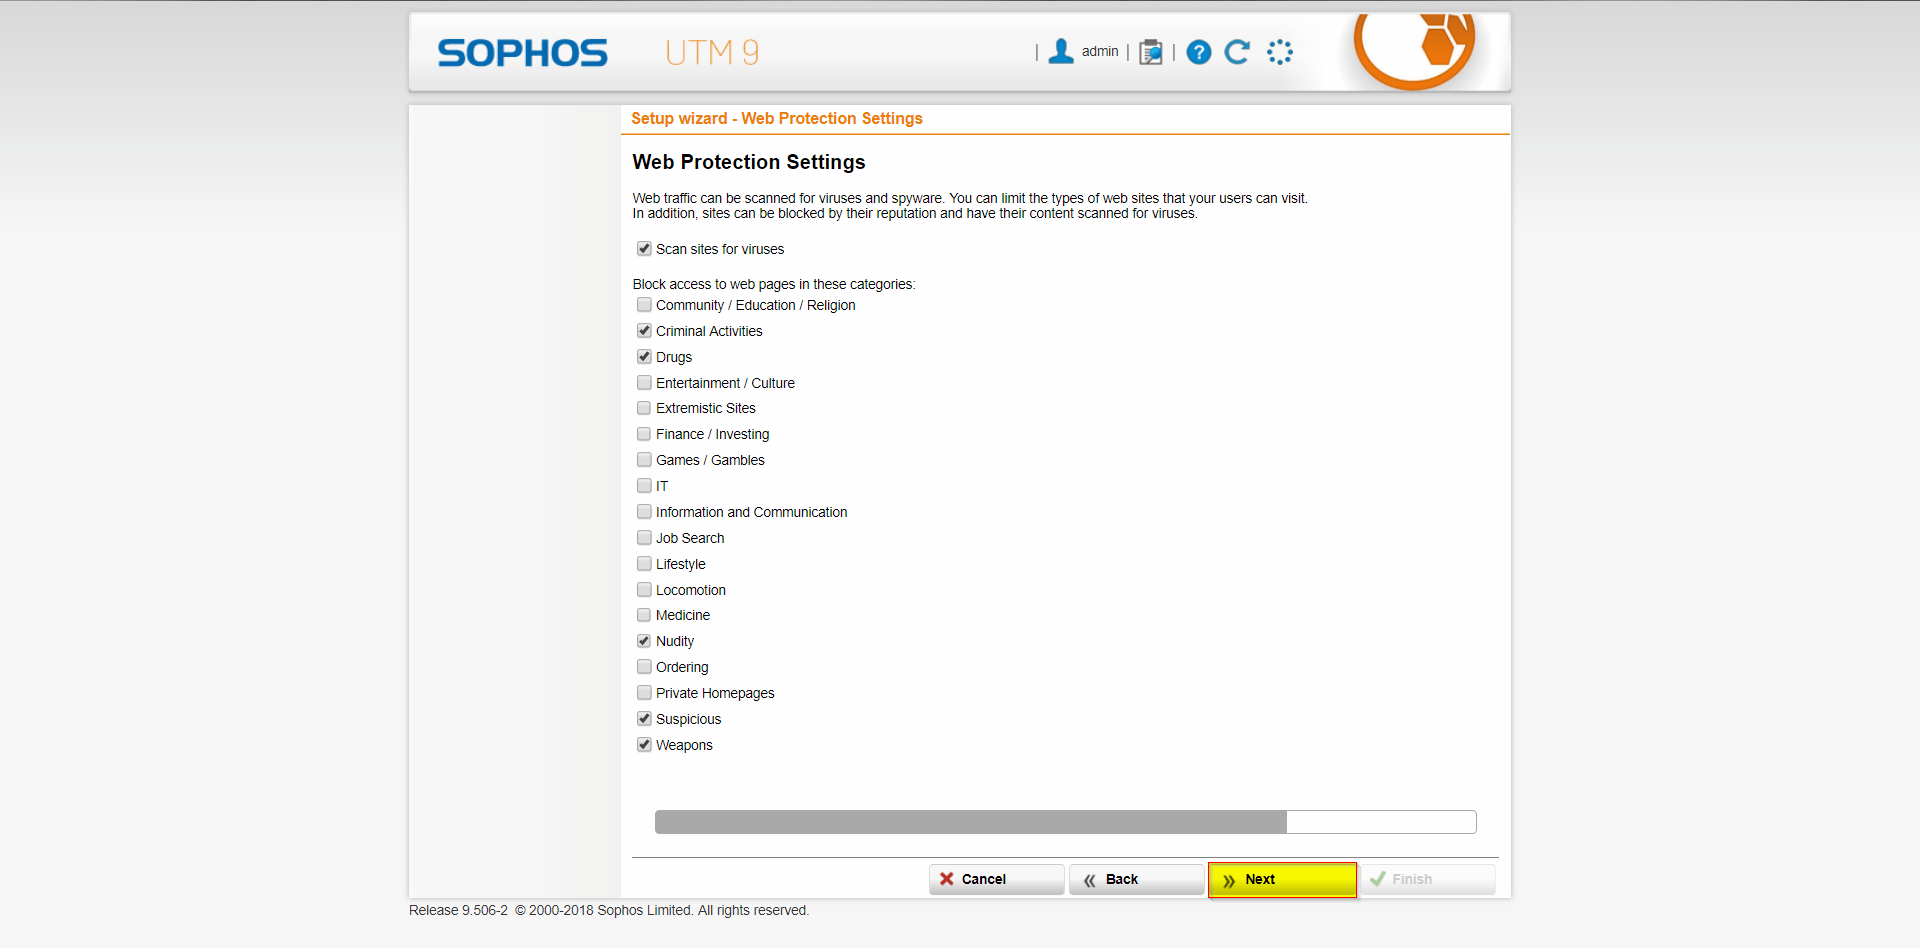
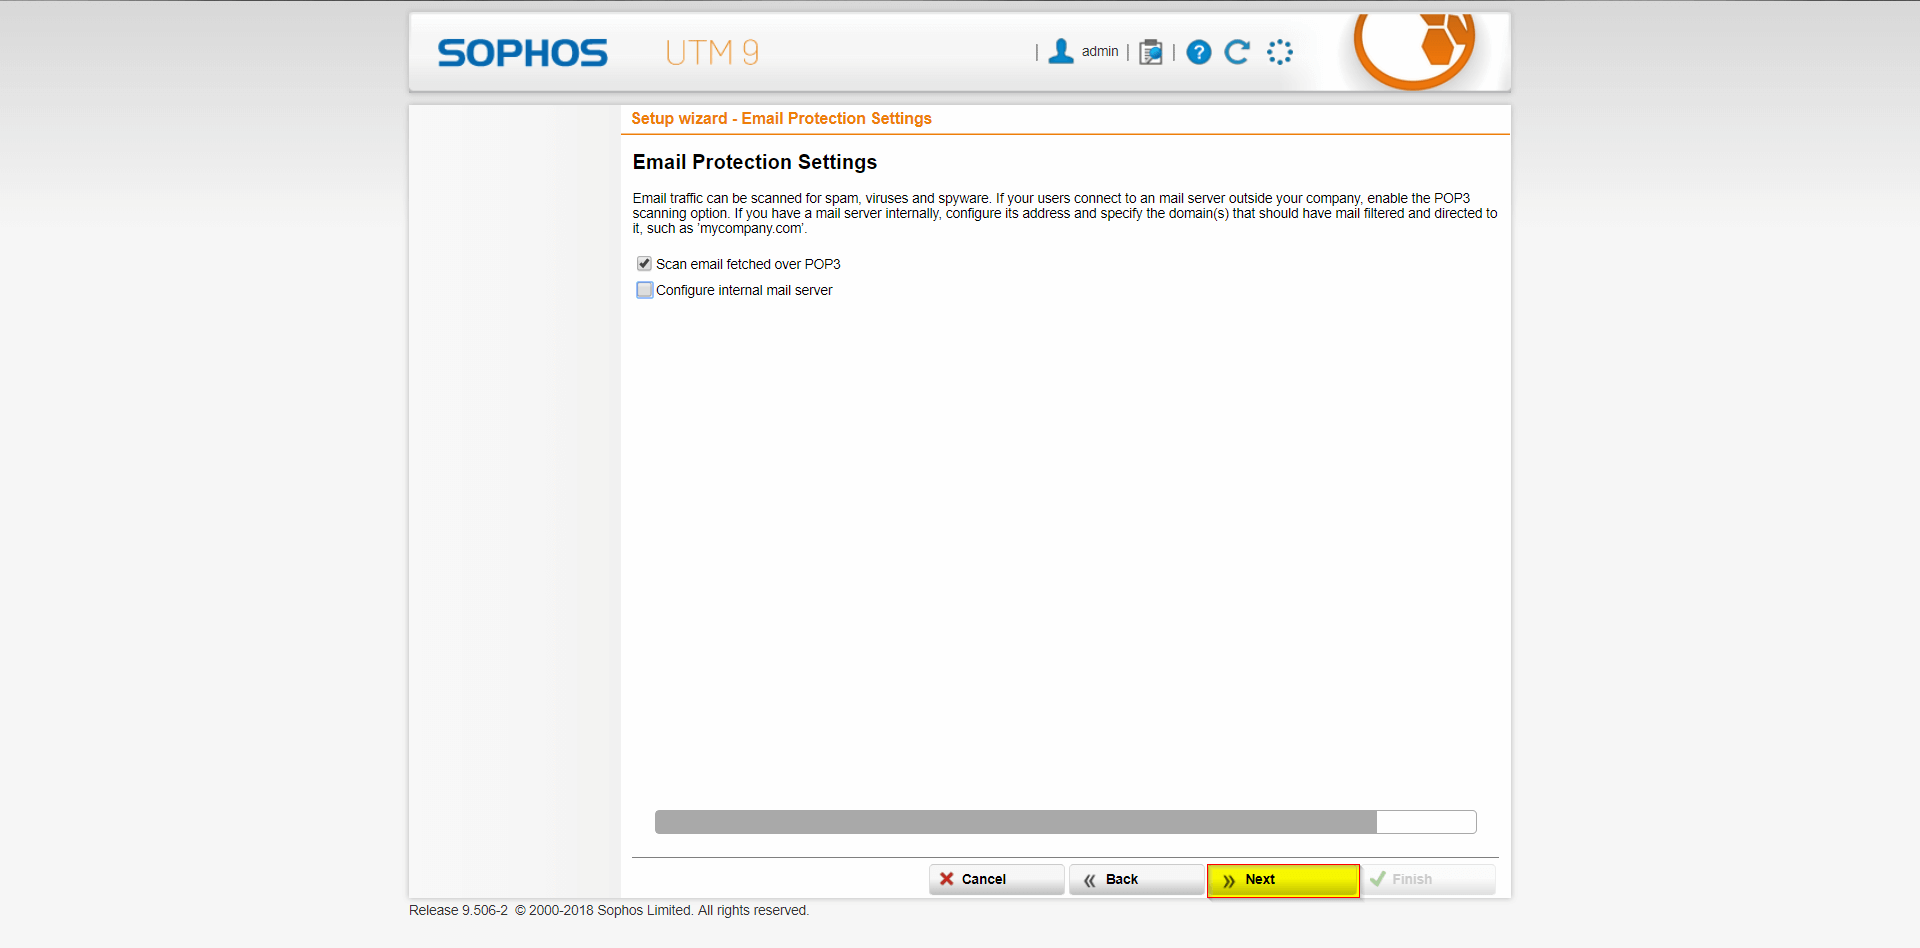
Next, log in to the Web Admin console using the username “admin” and the password you just set. Make sure to activate the product with the license file you obtained during the registration process (check your mailbox). Simply follow the instructions provided in the Setup wizard.

Finally, we are ready to enjoy our brand new Sophos UTM 9 instance
Summary
The installation process for Sophos UTM is straightforward, but the real excitement begins when configuring the IDS. With features such as NAT, firewall rules, routing rules, and network and website protection, Sophos UTM offers a wide range of capabilities. Whether you’re running a web server, a mail server, or accessing your home network via VPN, Sophos UTM can monitor and protect these services.
In today’s world, we invest a significant amount in our internet service providers, and our network bandwidth is often quite substantial. So why not make the most of it? With the ability to host lightweight home websites, email servers, and home lab servers running self-hosted applications, you can fully utilize the potential of your home network.


