Installing Oracle Linux 6 and preparing for Oracle Software installations
This article describes installation of Oracle Linux 6 and initial preparation for further Oracle software installations, like Oracle Databases, WebLogic Servers, Fusion Middleware software, clustered infrastructures. It will serve as a seed OS which I will be cloning for further Oracle software installations without a need to install OS from scratch each time I need a new host.
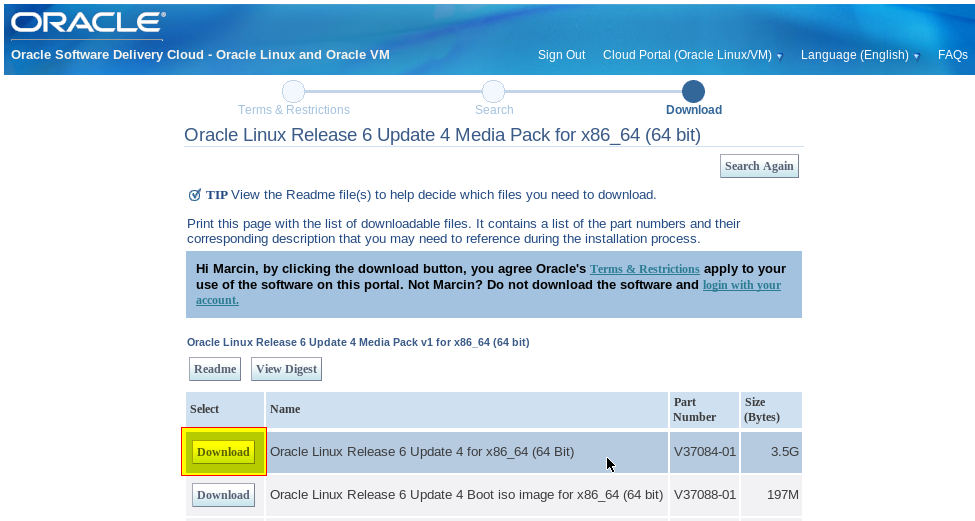
1. Download Oracle Linux ISO image from Oracle eDelivery: https://edelivery.oracle.com/

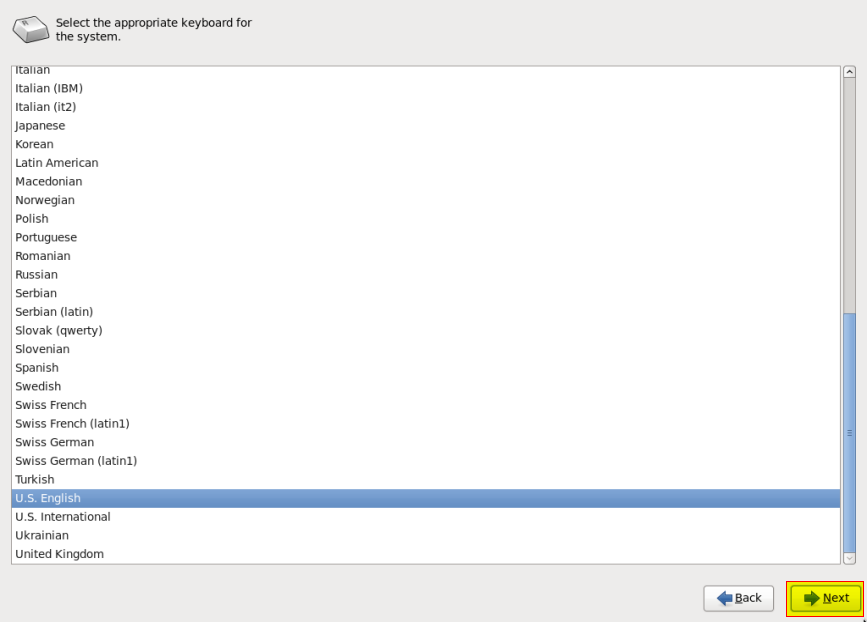
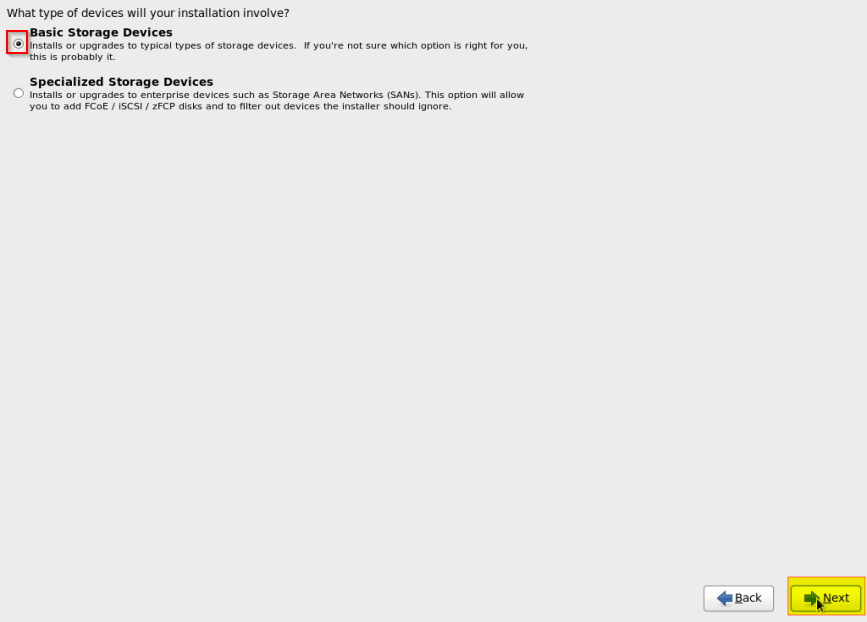
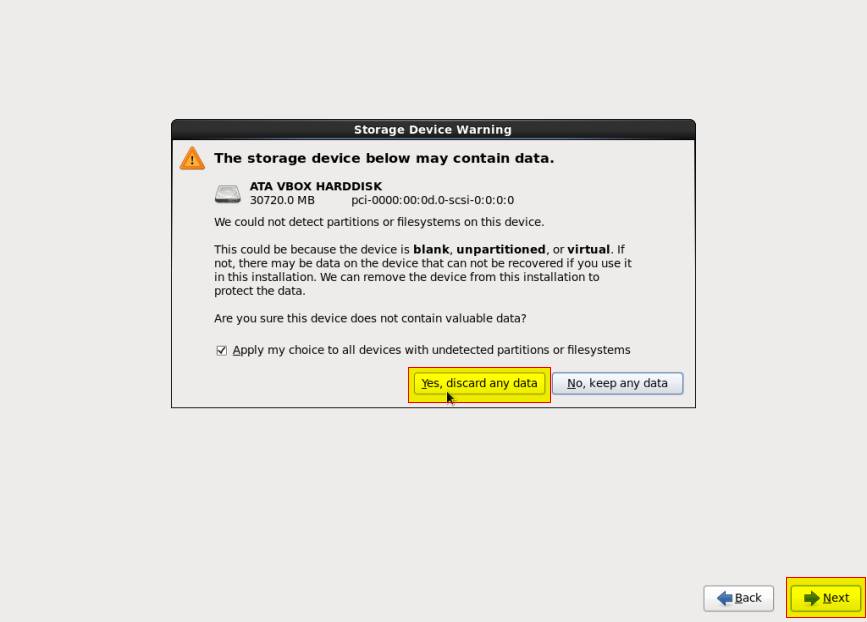
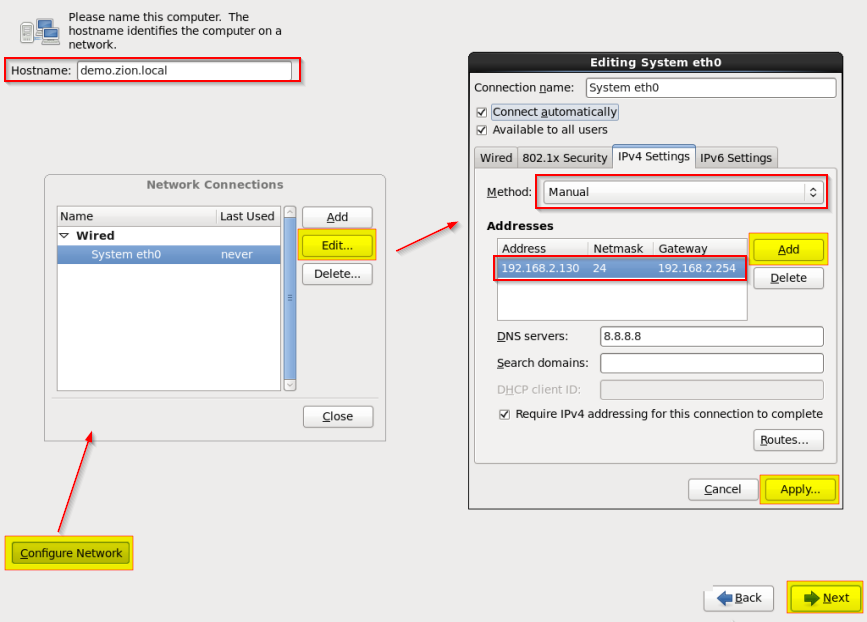
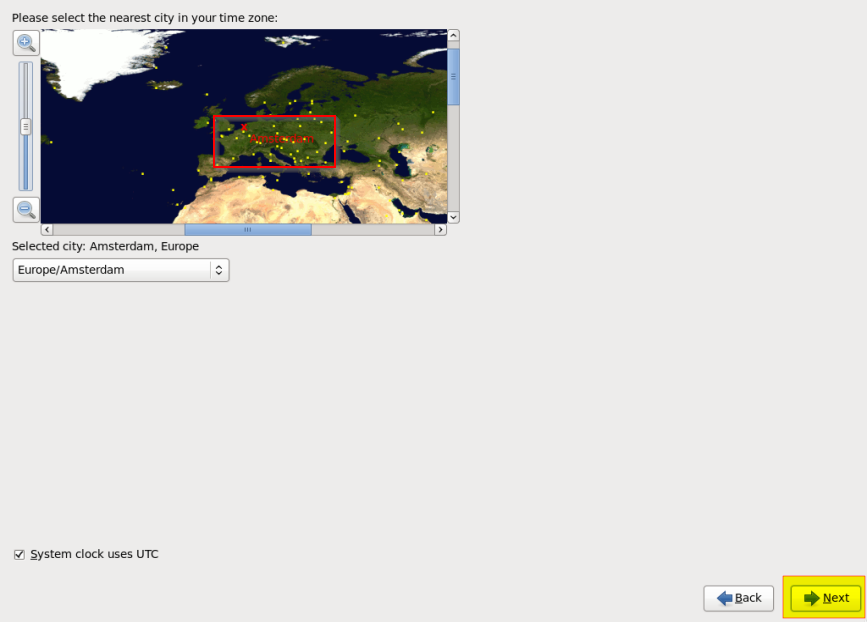
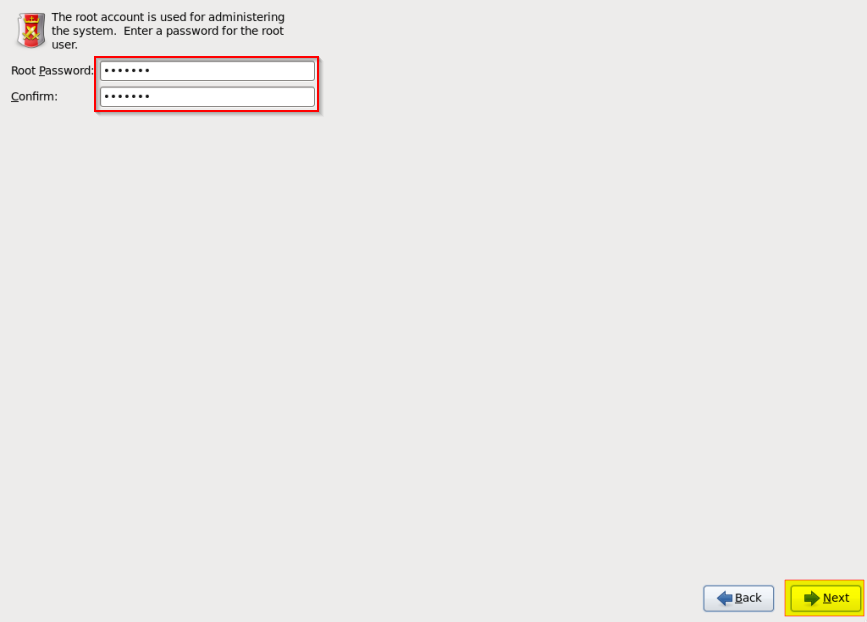
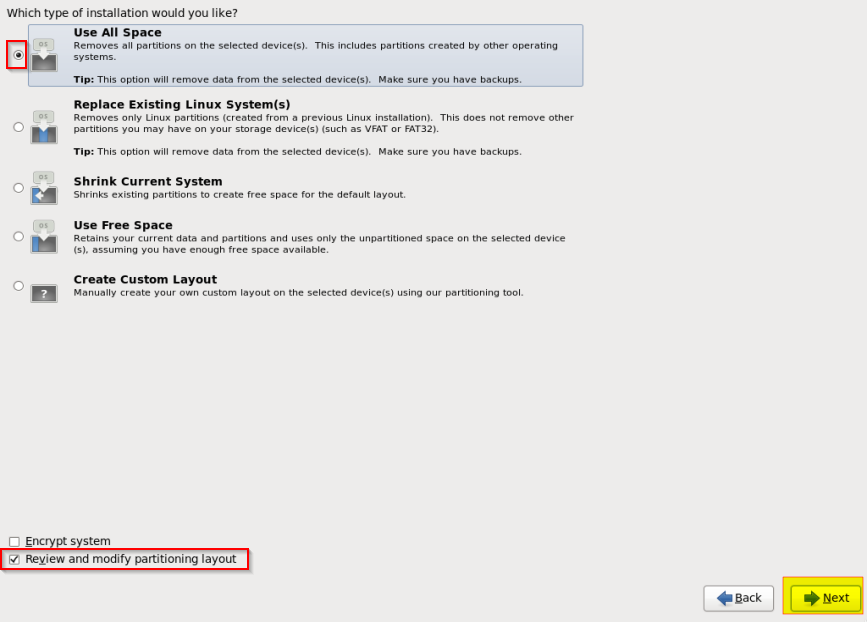
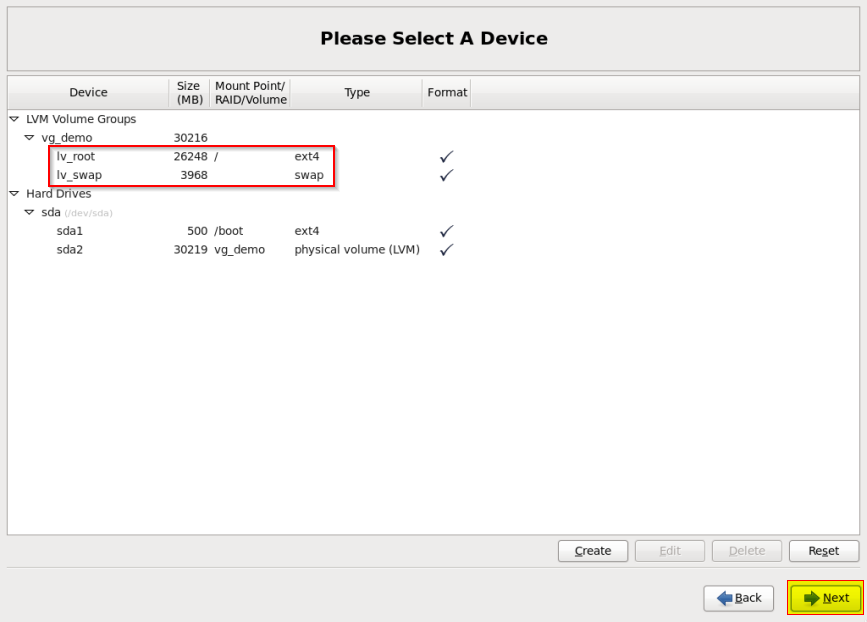
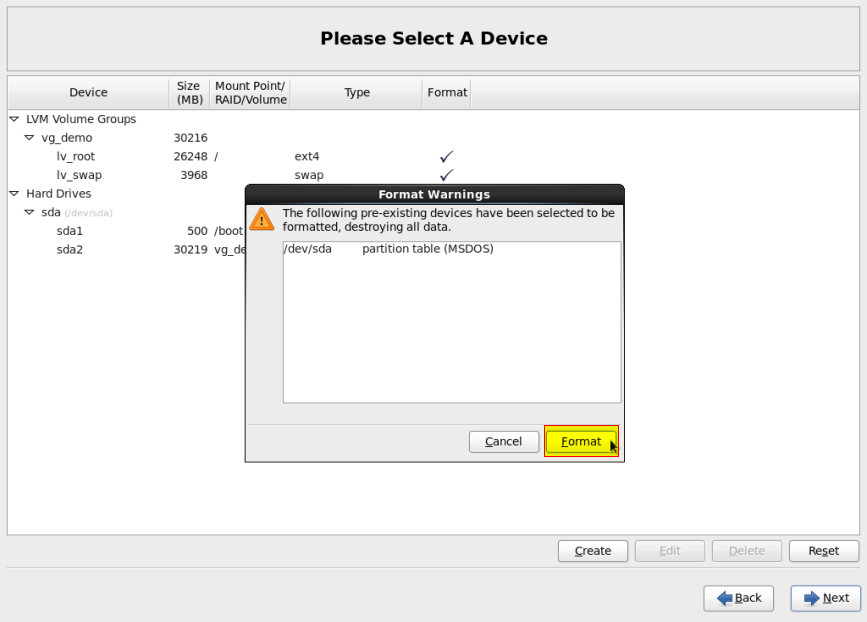
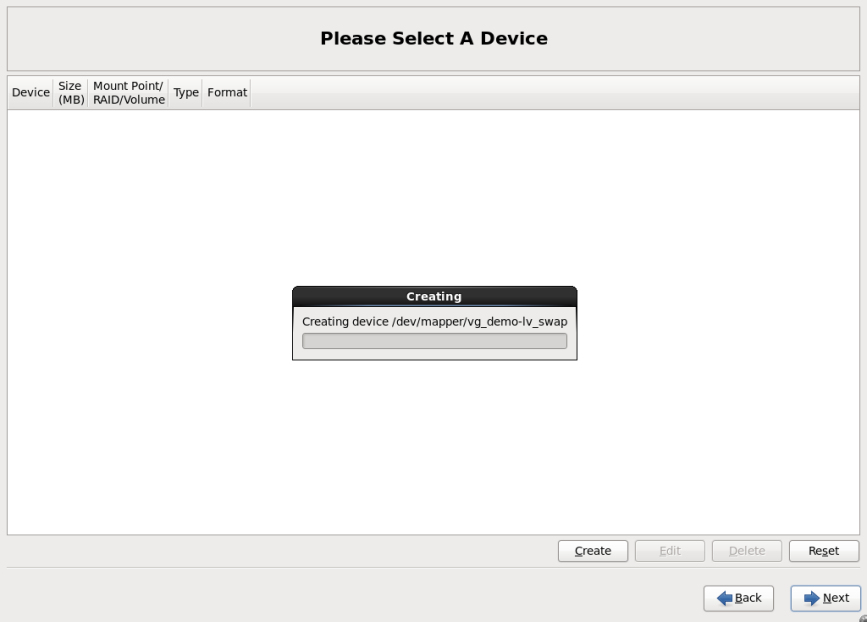
2. Mount an ISO image in a virtual machine of your choice and boot the installer
Personally I use Oracle VirtualBox https://www.virtualbox.org


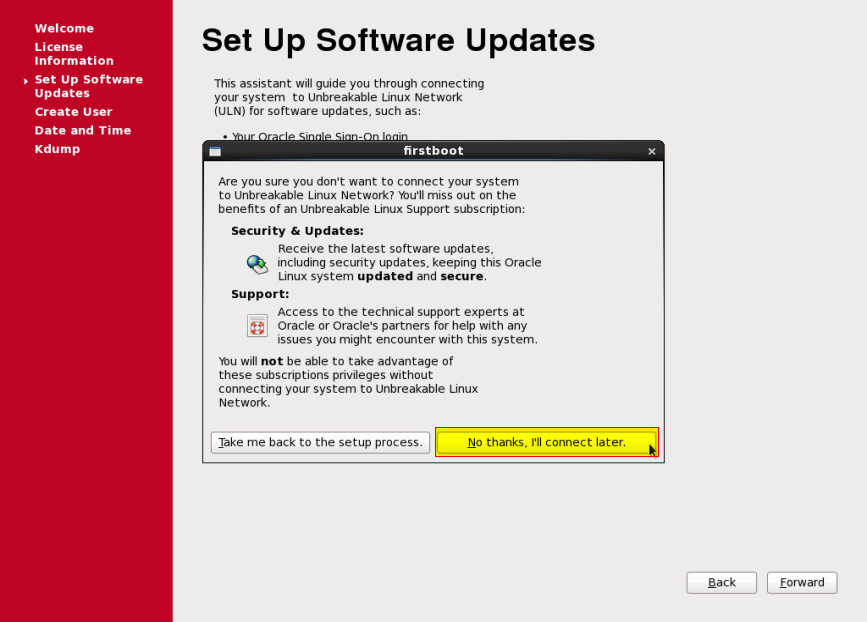
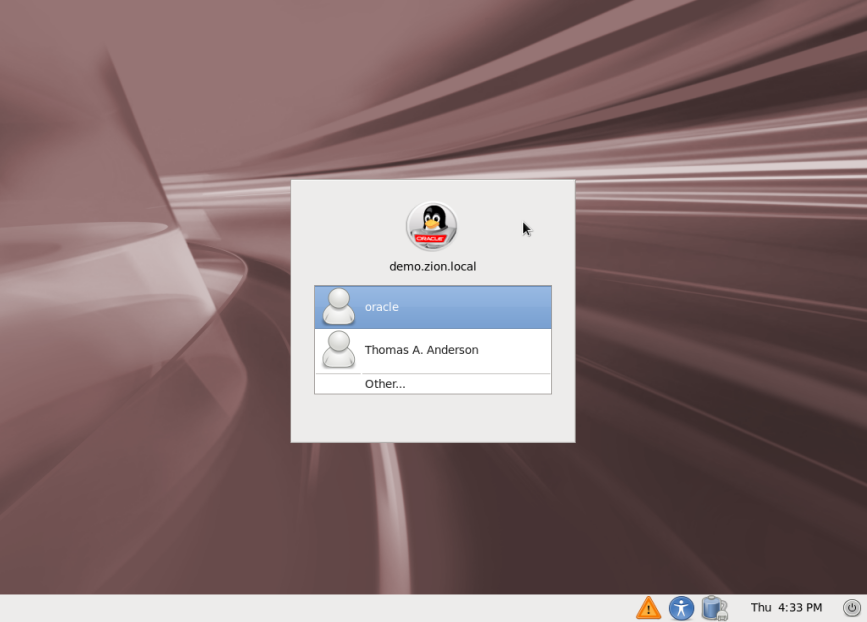

At this moment we have “fresh” installation of the Oracle Linux. System is up and running.
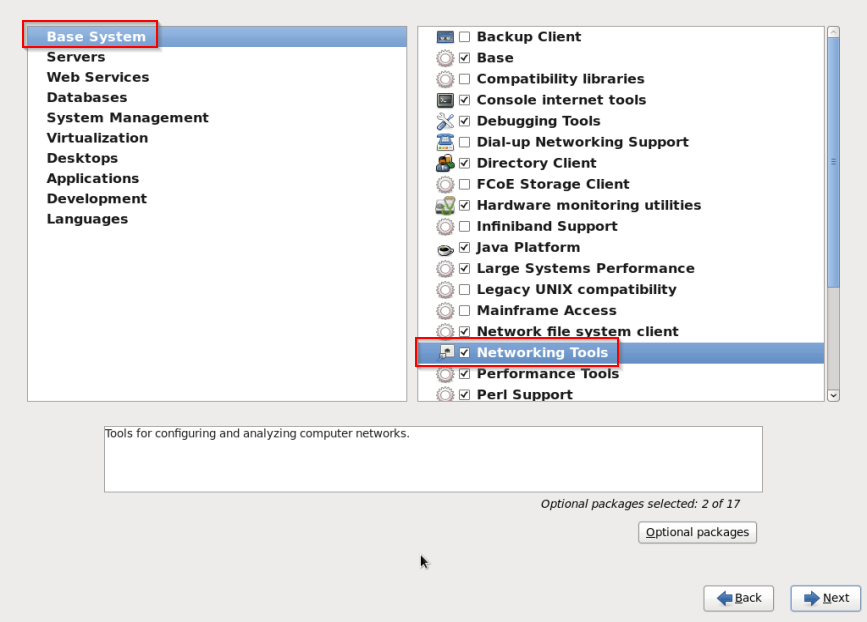
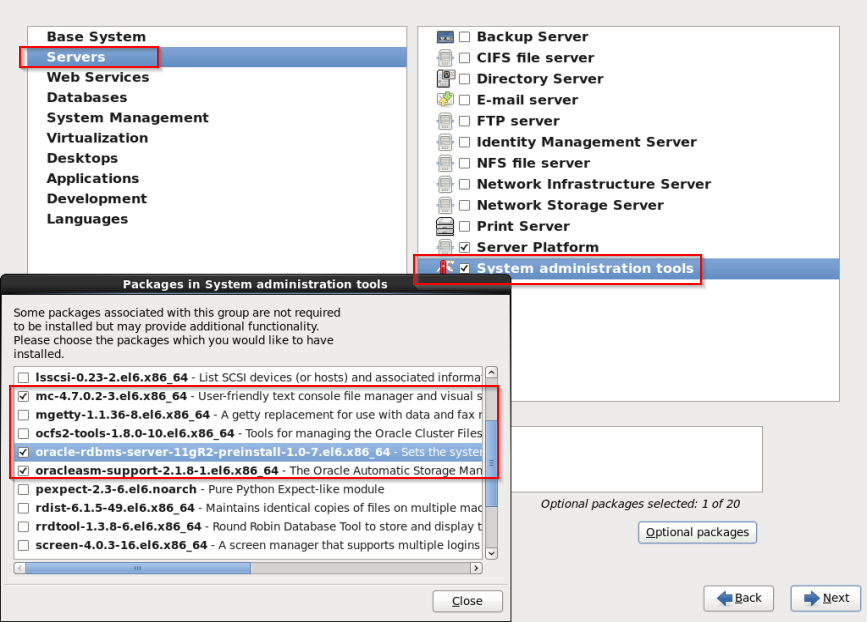
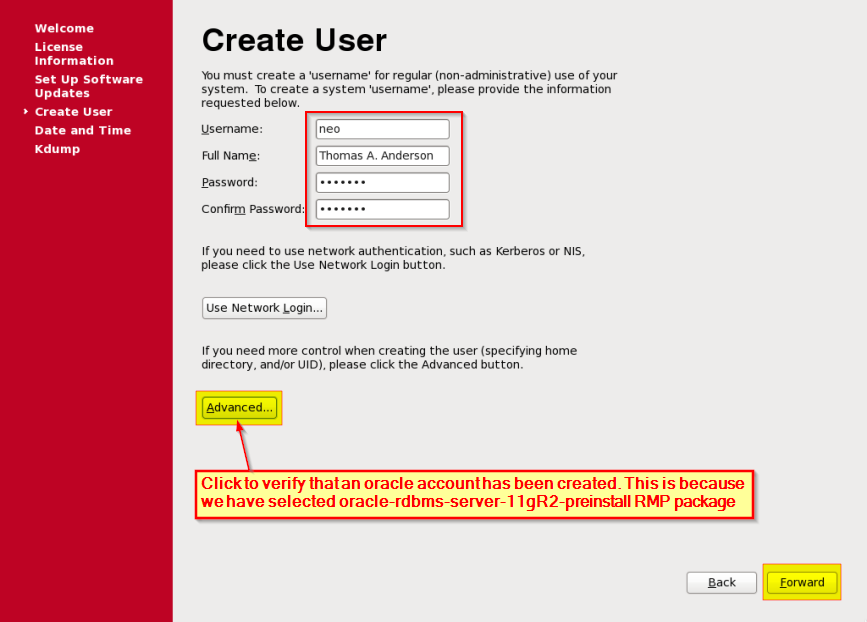
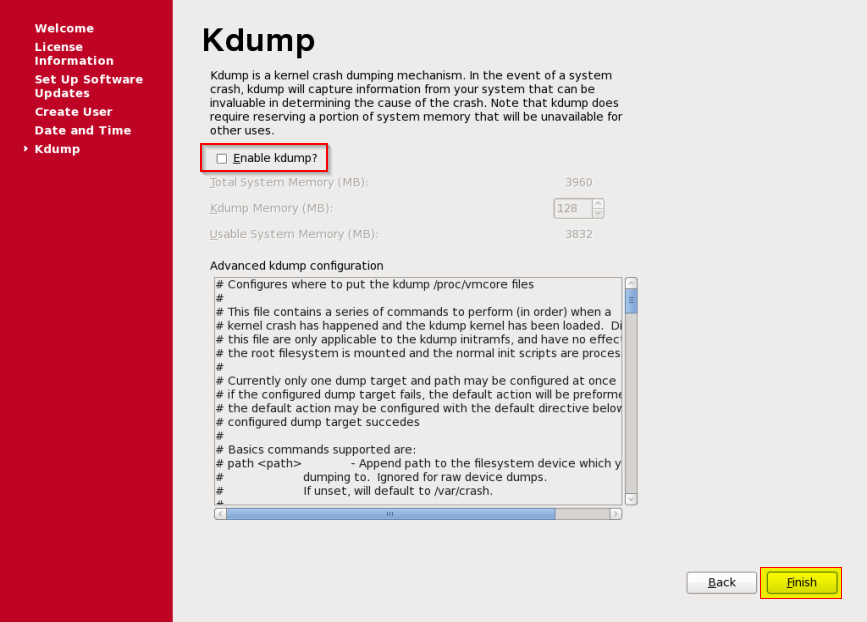
By selecting oracle-rdbms-server-11gR2-preinstall rpm package during the installation process we have completed most of the pre-installation configuration tasks including:
- installation of required software packages needed for database installation, with all dependencies
- oracle account creation and groups: oinstall, dba
- kernel parameters modification in /etc/sysctl.conf
- settings for hard and soft shell resource limits in /etc/security/limits.conf
- set of numa=off in the kernel boot parameters (for x86_64)
Let’s take a look and verify oracle account details:
[root@demo ~]# id oracle
uid=54321(oracle) gid=54321(oinstall) groups=54321(oinstall),54322(dba)
Create additional groups and users
[root@demo ~]# groupadd -g 54323 oper
[root@demo ~]# groupadd -g 54324 grid
[root@demo ~]# groupadd -g 54325 asmdba
[root@demo ~]# groupadd -g 54326 asmoper
[root@demo ~]# groupadd -g 54327 asmadmin

#alter oracle account for Job Role Separation (JRS) environments (Doc ID 1177483.1)
[root@demo ~]# usermod -m -u 54321 -g oinstall -G asmdba,dba oracle

#Grid user account (ASM admin)
[root@demo ~]# useradd -m -u 54322 -g oinstall -G asmadmin,asmdba,asmoper,dba -d /home/grid -s /bin/bash grid
The password of an oracle account is unknown. We can switch to a root account and change it, but good practice is to keep that password unknown. Instead, we will allow a regular user to switch to an oracle account using sudo program. This way we can control access to an oracle account. Only users who belong to a dba group would be allowed to switch to an oracle account and work as a dba user. Next to that users who belongs to “wheel” group will be allowed to switch to a root account.
As described in this article Oracle user account – Linux good practice let’s do this.
Our existing regular user account is “neo”
[neo@demo ~]$ su -
Password:*******
[root@demo ~]# id neo
uid=500(neo) gid=500(users) groups=500(users)
Assign a regular user “neo” to new groups; dba and wheel
[root@demo ~]# usermod -g users -G dba,wheel,asmdba neo
[root@demo ~]# id neo
uid=500(neo) gid=500(users) groups=500(users),10(wheel),54322(dba),54325(asmdba)
Now we have to modify /etc/sudoers file to allow users in dba and wheel group (optional) to use sudo (do not edit that file manually, use visudo command instead):
[root@demo ~]# visudo
visudo: /etc/sudoers.tmp unchanged

#Add the following lines and save changes

#dba
%dba ALL = /bin/su - oracle, !/bin/su *root*

#asmdba
%asmdba ALL = /bin/su - grid, !/bin/su *root*

#wheel (optional)
%wheel ALL = /bin/su -
Login as a regular user “neo” and test switching between oracle, grid and root accounts:
#Sudo to an oracle account
[neo@demo ~]$ sudo su - oracle
[sudo] password for neo:*******
[oracle@demo ~]$ logout
[neo@demo ~]$

#sudo to a grid account:
[neo@demo ~]$ sudo su - grid
[grid@demo ~]$ logout

#sudo to a root account

[neo@demo ~]$ sudo su -
[root@demo ~]# logout
[neo@demo ~]$
Next, update hosts file /etc/hosts and add a fully qualified name for the server (as root)
#/etc/hosts
127.0.0.1       localhost.localdomain  localhost
192.168.2.130   demo.zion.local    demo
Set secure Linux to permissive
edit “/etc/selinux/config” file and set SELINUX = permissive
[root@demo ~]# vi /etc/selinux/config

# This file controls the state of SELinux on the system.
# SELINUX= can take one of these three values:
#     enforcing - SELinux security policy is enforced.
#     permissive - SELinux prints warnings instead of enforcing.
#     disabled - No SELinux policy is loaded.

#SELINUX=enforcing
SELINUX=permissive

# SELINUXTYPE= can take one of these two values:
#     targeted - Targeted processes are protected,
#     mls - Multi Level Security protection.
SELINUXTYPE=targeted
To apply changes, restart the server or execute the following command:
[root@demo ~]# setenforce Permissive
Disable firewall. We assume our network is protected by a global “zion.enterprise” firewall.
[root@demo ~]# # service iptables stop
[root@demo ~]# service iptables stop
iptables: Flushing firewall rules:                         [  OK  ]
iptables: Setting chains to policy ACCEPT: filter          [  OK  ]
iptables: Unloading modules:                               [  OK  ]
[root@demo ~]# chkconfig iptables off
Setting environment variables for particular accounts and directory structure will depend on the Oracle product we will be installing, however we could create the ORACLE_BASE common directory:
[root@demo ~]# mkdir -p /u01/app/oracle/product
[root@demo ~]# chown -R oracle:oinstall /u01
[root@demo ~]# chmod -R 775 /u01
We are ready to go. At this moment we have pretty decent Oracle Linux server “seed” ready to be cloned and used for Oracle Products installations.
Reference Linux Installation Guides