Installing Oracle Linux in VMware virtual machine
What is Oracle Linux?
Oracle Linux is an open source operating system available under the GNU General Public License (GPL) and is available for free download.
Oracle Linux includes two kernels:
-
Unbreakable Enterprise Kernel, tracks mainline Linux kernel closely, and offers the latest features and
tested performance and stability -
The Red Hat Compatible Kernel, compiled directly from Red Hat Enterprise Linux source
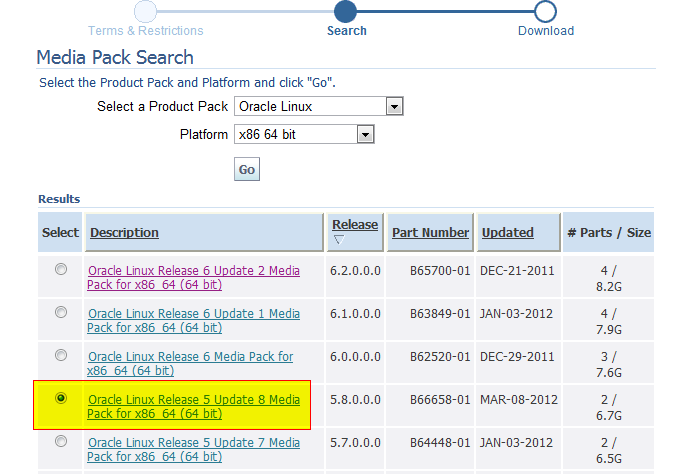
In this tutorial we are going to install Oracle Linux 5 Update 8 (64 bit) prepared to install Orcale Database 11g on it.
What we are going to cover:
1. New virtual image creation
2. Linux Installation using Linux ISO Image download from Oracle eDelivery website
We will include into installation Oracle Validated package (rpm included in distribution) which is automatically configuring system components like Linux kernel parameters, creates oracle users and groups, installs rpm packages required by Oracle products and Oracle Universal Installer. It makes OS ready for installation of most Oracle products, like Oracle Database or WebLogic Server, without additional manual configuration steps – very handy.
Let’s roll…
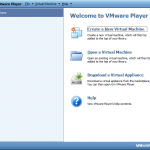
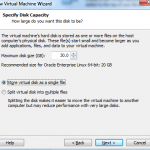
1. Once we have downloaded and installed VMware Player or Workstation from www.vmware.com website we are ready to launch the application and press Create a New Virtual Machine button.
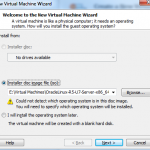
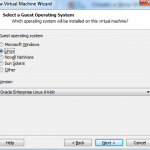
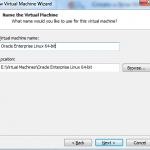
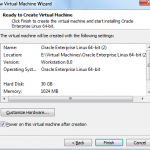
Wizard will popup:
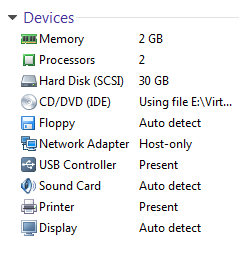
In the end press Edit Virtual Machine Settings and configure all image parameters.
Don’t forget to mount Downloaded Linux ISO image as CD/DVD device.
Note: 1GB Memory , 1 CPU and 20 GB hard disk would also be enough.
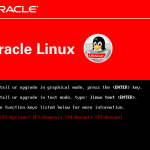
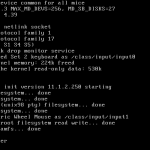
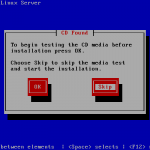
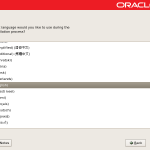
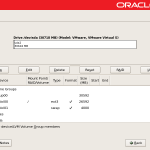
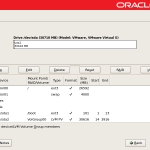
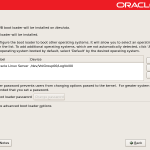
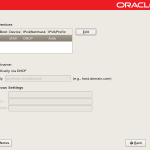
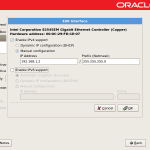
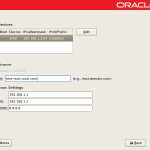
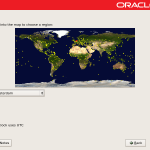
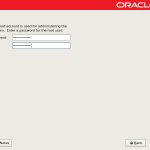
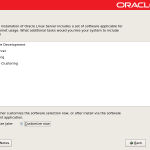
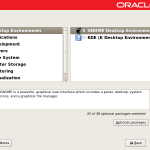
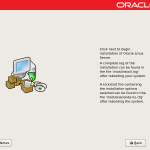
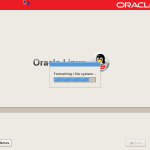
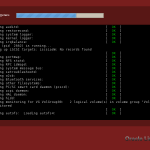
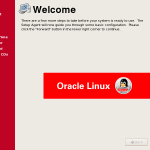
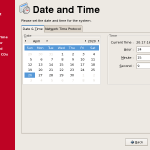
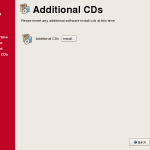
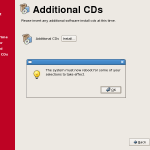
2. Power up virtual machine and Linux Installer will boot up.
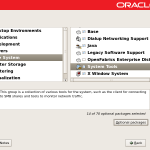
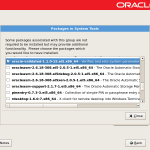
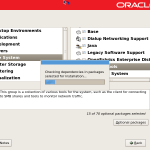
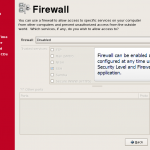
As we mentioned above we are going to include oracle-validated package from System Tools packages group.
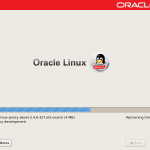
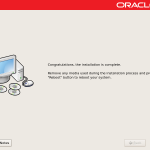
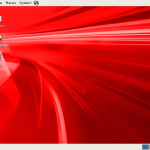
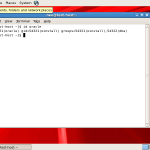
As you can see at the last screenshot, the oracle user has been created and has been assigned to oinstall and dba groups (one of the several actions performed by oracle-validated package).
UPDATE: There is one package which oracle-validated doesn’t install – unixODBC-2.2.11-10.el5.i386.rpm
That package is required by the Oracle Universal Installer when installing Oracle Database 11g R2 on Oracle Linux 64 bit.
Let’s install missing package.
You have still Linux ISO image mounted in vmware machine.
As “root” user run the following commands:
[root@test-host ~]# mount /dev/cdrom /media
mount: block device /dev/cdrom is write-protected, mounting read-only

[root@test-host ~]# rpm -Uvh /media/Server/unixODBC-2.2.11-10.el5.i386.rpm

warning: /media/Server/unixODBC-2.2.11-10.el5.i386.rpm: Header V3 DSA signature: NOKEY, key ID 1e5e0159
Preparing... ########################################### [100%]
 1:unixODBC ########################################### [100%]
That’s it. System is ready for an Oracle Database installation.
NEXT >> Installing Oracle Database 11g R2 on Linux
Cheers!!
